

This post is Part 2 of Making Maple Syrup, to see Part 1, click here.
After 13 days of collecting sap, I was ready to try and turn it into maple syrup. Please see Part 1 for the collecting maple sap blog post.


I had a few buckets that were still frozen solid or had a big chunk of ice in them, so I got out the big pot, filtered the sap that was in it into 4 liter water jugs and put the pot on the stove to melt the sapsicles to liquid. I figured I would need all the preliminary work done I could get.


Once that was done, I gathered everything I would need outside for the day (half day I hoped, lol) at the door so I could easily grab anything I needed quickly without leaving the sap too long alone outside. I had nine four liter jugs and a big eighteen liter jug that was full to about 16 liters making a total of 52 liters of sap. The ratio was 40:1 so I was hoping I’d at least get a liter of syrup by the end of the day.


I had decided to use the bbq for the heat source. I had done just a bit of research into the boiling stage via youtube. I found a few videos but they weren’t super thorough which led to me look for more. I saw that several people use a bbq and so I’d decided I would try that as I didn’t want to invest in a propane burner and am not able to have a fire where I live as I rent and the insurance prohibits this. I shoveled the walk to the back where I’d planned to set up the bbq. I was told that when the sap is boiled it evaporates and leaves sticky solution on the walls in a house so I wanted to get away from the house. Plus, there was a large greeenhouse out back that had a hallway sized area behind it that would be great for blocking the wind and keep me sheltered. It was supposed to be -10 all day and very windy so I was hoping this would help.


As there was still snow on the pathway, I decided to use my freight toboggan to load up all the sap. 52 liters were heavy to carry and I figured why make work if I didn’t have to? I loaded up the toboggan with everything I’d need to get started and pushed it to the area where I’d be spending the day.


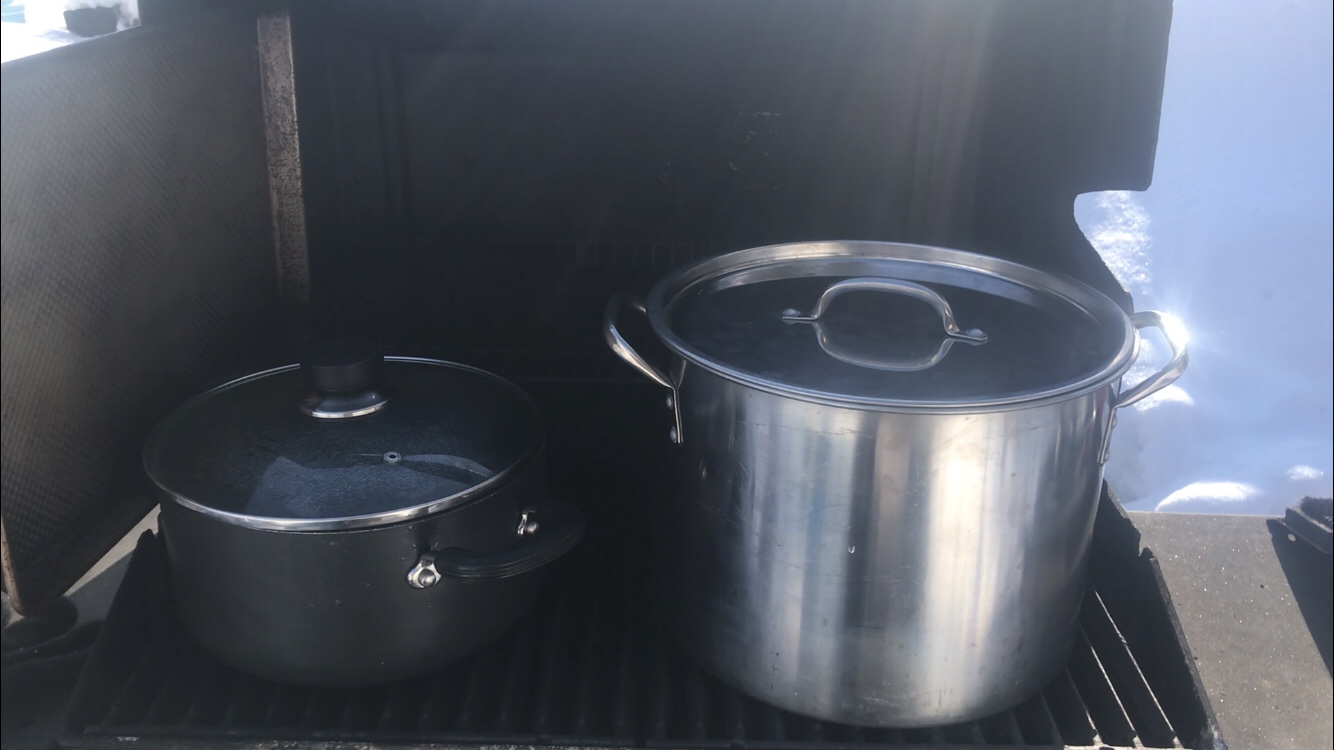
I started the barbecue, set up the big pot I had loaned from Eileen and Dan onto the barbecue, filled it 2/3 full of sap and waited. As the barbecue still had a lot empty space, I decided to go get a big pot from inside the house and do the same with it. I did a few things while waiting for the pots to heat up but they didn’t really heat up very much at all. After 30 minutes I could still put my hand on the big pot without it getting burned. It was barely warm.

This wouldn’t do at all. The barbecue was not getting very hot. I wasn’t sure if it was because it was so cold outside and maybe the fuel was still frozen, or the barbecue wasn’t in the best shape or why it wouldn’t get hot but I had to change something or I would be here all weekend instead of all day.


I had seen some photos online of people using turkey pans for their maple syrup boiling and had 2 of them inside the house. I went and got them and switched one of them out for the two pots currently on the barbecue. I bent up the handle so the lid could be closed and thought that might make it heat up better.


I managed to get the lid closed and waited about 15 minutes. The barbecue would not heat up over 200 degrees and I didn’t know why, but I had to figure it out. I also realized I would not be able to close the lid for a few reasons. The main reason was that the sap was reducing and all the water was to boil out of it. When this happened, the steam would rise and would need to get out. If the lid was closed, as it had been, all the steam would hit the barbecue lid and drip back into the pan. Gross! I had also noticed flecks from the lid in the sap already from just opening and closing it a few times. Also very gross.
I had to come up with something else. As the wind was coming from the direction of the house, I turned the barbecue so it was blocking the wind. Then I added a big metal tray to the left side to further block the wind and moved the barbecue closer into the sheltered area behind the greenhouse, hoping that would help as well.

This seemed to improve things a bit. I also noticed the grills on the barbecue were up quite high from the actual propane flames, about 2.5 ” or so. I removed them and put a small wire grill I used for camping on top instead and this put the pans almost directly on the heat source, which helped a great deal. Now I was in business. It wasn’t boiling as much as it should be, but it was a big improvement from an hour ago.

As I started to skim the top of the sap whenever the whiteish yucky stuff would boil up, I thought a bit more. I still had a second foil pan available and a top grill. I knew that when the main pots started to evaporate, I was to continually fill them with more sap, preferably not dropping the temperature of the bottom pots. This led me to the thought of putting the extra foil pan on the top rack to begin the warming process. The sap ‘on deck’ would sit up there and warm, maybe even get a bit hot and then when I poured the new sap to be added into the lower pots, it wouldn’t cool it too much. Perfect!


Then I took it one step further. I had a Coleman stove inside the house that I used sometimes for car camping. Why not set it up as well and put a pan of sap on there. Couldn’t hurt and at the rate things were going, I needed all the help I could get, so I set it up. I moved the big rectangle foil pan onto the Coleman stove and got another big pan from inside the house and used that on the barbecue for the warming ‘on deck’ tray. Super duper!


I continued watching and waiting and waiting some more. At least the sun was out and even though it was cold, I was fairly sheltered and wasn’t freezing.

Every 10-15 minutes I would skim the impurities off the tops of the pans and repeat. It was a long, boring process… errr…. I mean, very interesting indeed. LOL

I used the barbecue to heat up some leftover pizza I had from the night before’s dinner and continued waiting and skimming and sitting in the sun.


And then I did some more waiting and skimming and sitting in the shade. LOL


I watched the color begin to change slowly in the pans, turning into a lovely golden champagne color, which gave me hope. There was a very slight smell of maple in the air, but not much and as hour after hour passed, I wasn’t sure if I’d ever reduce all the sap I had to reduce.


I poured the sap that was in the big 18 liter jug into four four liter jugs and filtered it upon doing so. I had come across two four liter jugs that were cloudy and had heard the sap could spoil. After looking it up online I saw it would be bad and not wanting to ruin the entire batch of syrup for 8 liters of sap, I dumped them out. I checked the four new jugs I’d just transferred and all of them were clear and none were cloudy so I was able to keep them and continue. At least I had 8 liters less to have to boil! 🙂


Finally around 5pm (I had started at 8:30am) I emptied my last 4 liter jug into the pans. I still had all 4 pans on the barbecues but I was finally out of sap to fill them with. I was getting there!

After another hour I was down to the original 2 containers I’d started with. The pan from the Coleman stove had been dumped into one of the two remaining pots along with the warming pan that was on the top grill. Just two pans remained and I was getting excited that I would finally be able to go inside soon. It had been a long, cold day and I was pooped, but I still had to wait a bit longer.

As I waited the last hour, the snow began to fall heavily and the sap was being affected by the cold drops of ice falling from the sky. I closed the lid a bit and propped it halfway open with the tray I’d used to block the wind all day in hopes this would help the last two pots reduce and keep the snow out. I was trying to remove the water from the syrup, not add new water!


I decided I’d had enough and figured the amount of sap that I had left would all fit into the big pot that I would use inside to finish off the remainder of the process. I got some cheesecloth and a bungee cord and covered the top of the big pot with it so that it would filter out as much as possible while transferring the remaining sap over.


Then I poured the sap into the big pot from the two on the barbecues and took it inside and put it on the stove.


I cooked up a steak on the barbecue for dinner while it was still going and then ate while the sap on the stove got up to a nice rolling boil. It was 7pm and I was still at it and determined to continue until there was syrup!


I reduced and reduced and reduced and skimmed all the white guck off the top of the liquid whenever possible. I figured would have to boil down quite a bit still as I should end up with less than a liter so I kept at it until the liquid went down further. I got my cute little jars out and set them up and put cheesecloth over the glass measuring cups I would pour the syrup into before putting it into the jars.


The hours passed and I continued on my journey. Finally around 930 it began to get close to being done. Well, not close, but close close. LOL.


I had a candy thermometer I had purchased ready and waiting. Before boiling the sap, I had boiled a pot of water and put the thermometer in it. It is suggested to do this in the pamphlet I had, so I did as advised. The water boiled at 100 degrees on my thermometer. The pamphlet stated that the sap would reach 66% sugar 4 degrees above the point of boiling water so my goal was 104 degrees. It took what seemed like forever, well, actually it was forever. It was 9:45pm, hahaha.


Finally around 10pm the thermometer hit 104 degrees. Well, maybe it was 103, but I thought I could smell a burning smell and I got freaked out so I was pretty okay with it being done. Plus, I did a taste test and it was DELICIOUS!!! OMG! it was sooo good and I figured, maybe it wasn’t as thick as it should be, but it was certainly tasty and I was happy with that.

I turned the burner off and took the pot over to the glass measuring cups and emptied the pot into them. It wasn’t very much but it smelled and tasted good so I was happy with it. After removing the cheesecloth from the two large measuring cups I poured the syrup into the smaller jars, took the cheesecloth off those and replaced it on two more jars and repeated.


I wiped them off, cleaned them up and closed them and VOILA! I had four cute little 200 ml jars of maple syrup. Just like that! Errr…. well… um, just like that after 14 hours! HA! I left the cleaning up for the morning and headed to a hot bath. I was toast and ready for sleep but I could not wait until the morning to try my creation.


I woke up on Sunday and had a hard time getting out of bed. Instead I went onto facebook and created a survey to see if I should try the syrup on pancakes (with or without strawberries) or french toast and laid back down for a bit.

After the deadline ended for the poll, and I was more hungry than tired, I got up to make breakfast. The winner was french toast but it was a very close win and along the way, many people suggested that I just make both. I personally thought this was a terrific idea so I proceeded to make 2 strawberry pancakes and one piece of french toast.


I was super excited to try the syrup and poured some on each item and then tried them starting with the winner, french toast. It was so good. I was filming it for my youtube video on this and almost just kept right on eating, camera or no camera, hahaha, that’s how good it was. I tried the pancake next and it was also very good but the french toast was my favorite also, even though not by far and I did eat both and the extra pancake I’d made.


I ate everything until my plate was clean, so happy I continued on with this project even though there were many many times I almost called it quits. Funny how when you announce something on facebook you are pretty much committed to following through, possibly part of why I do that sometimes, lol.

With my plate clean and the deliciousness in my tummy, I happily went back to bed to rest. Yesterday had been a very long day and I honestly felt like I’d run a marathon. I was very proud of myself for seeing this project through to the end and for the lovely 4 little teeny tiny jars of syrup I had made, from a tree… go figure?

As I posted on facebook to announce the success I’d accomplished a friend of mine commented…. now you have to make maple candy….. WHAT?
Check back for my next post on making maple candy!
I hope you enjoyed my series, thus far on Making Maple Syrup for Dummies, Like Me, and it inspires you to give something new a try. If you have any questions, comments or just want to say hi, please leave a message.
Happy Maple Syrup Making!
Camper Christina
awesome work Christina
Thank you