In November 2015, I built a DIY Tipi hot tent. It is awesome and I love it dearly, but unfortunately, the tipi is not made for the backcountry. I took it on a few small trips last year and very quickly realized it weighs a tonne. I hadn’t realized how much until I had made a statistics sheet about it for winter in the wild and was amazed to see that it weighed about 65 lbs and with the stove, just over 100lbs! That was just too heavy for lil ol me to take into the backcountry. Sad, but true.
At the start of November, I began thinking about winter a bit and knew that if I wanted to do some solo backcountry trips, I was either cold tenting, which I’m not a huge fan of, or I needed a lighter hot tent. From then on, the plans began to swirl around in my head and I had lots of ideas about how to make another tent, this time, lighter and better suited to take into the woods on my toboggan.
When I did my initial visit to walk around Home Depot, where I met this awesome guy named Van who helped add to my creative thoughts, I was thinking of going with pvc piping. I had the entire design laid out by the next day and had actually brought home a few pieces of pipe fittings to see how they connected and drilled screws into them etc. Then I gave my head a shake. THIS TENT NEEDED TO BE SUPER SIMPLE. So very simple, light, small and easy. Easy to set up, easy to carry, easy to make. The plan changed quickly from there and moved along. The second plan is above and it did not change from the initial drawing.
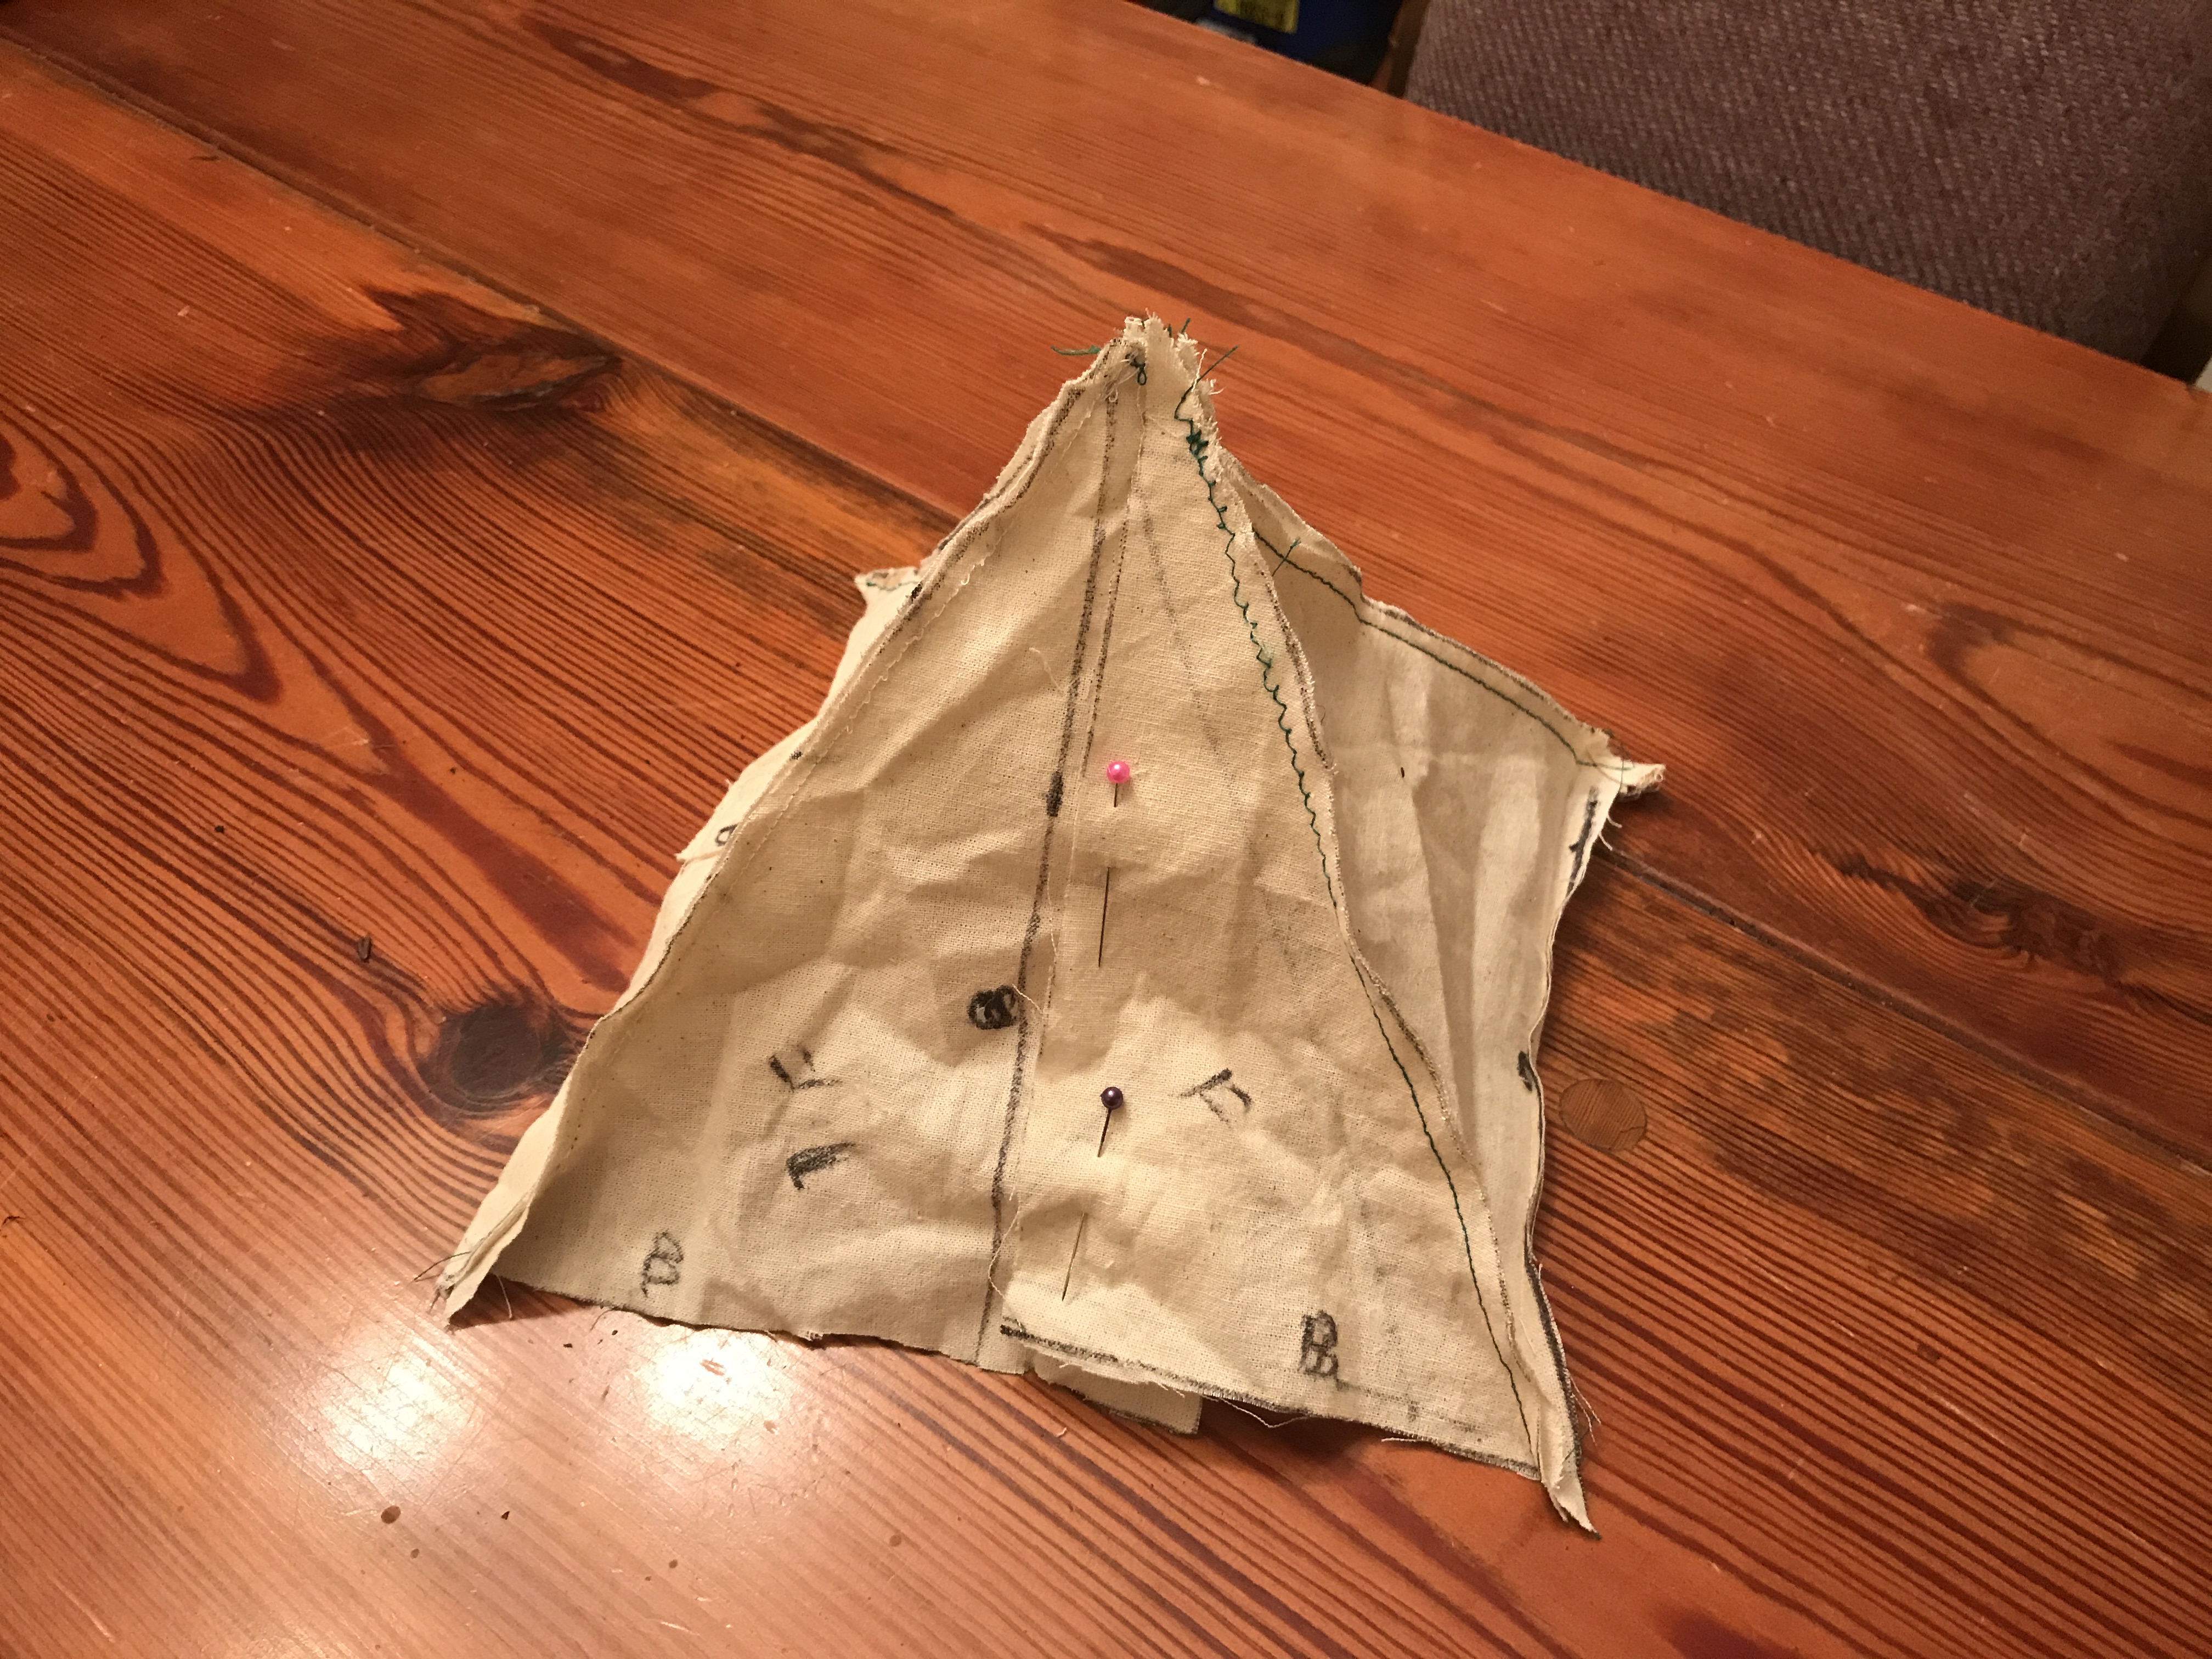
First I made it on paper, then I made it out of paper, then I made it out of a scrap piece of canvas I had and actually sewed it together. It looked great and it seemed to work. I wasn’t actually sure if it would stand with only one pole, but that was my plan and I was super excited about it!
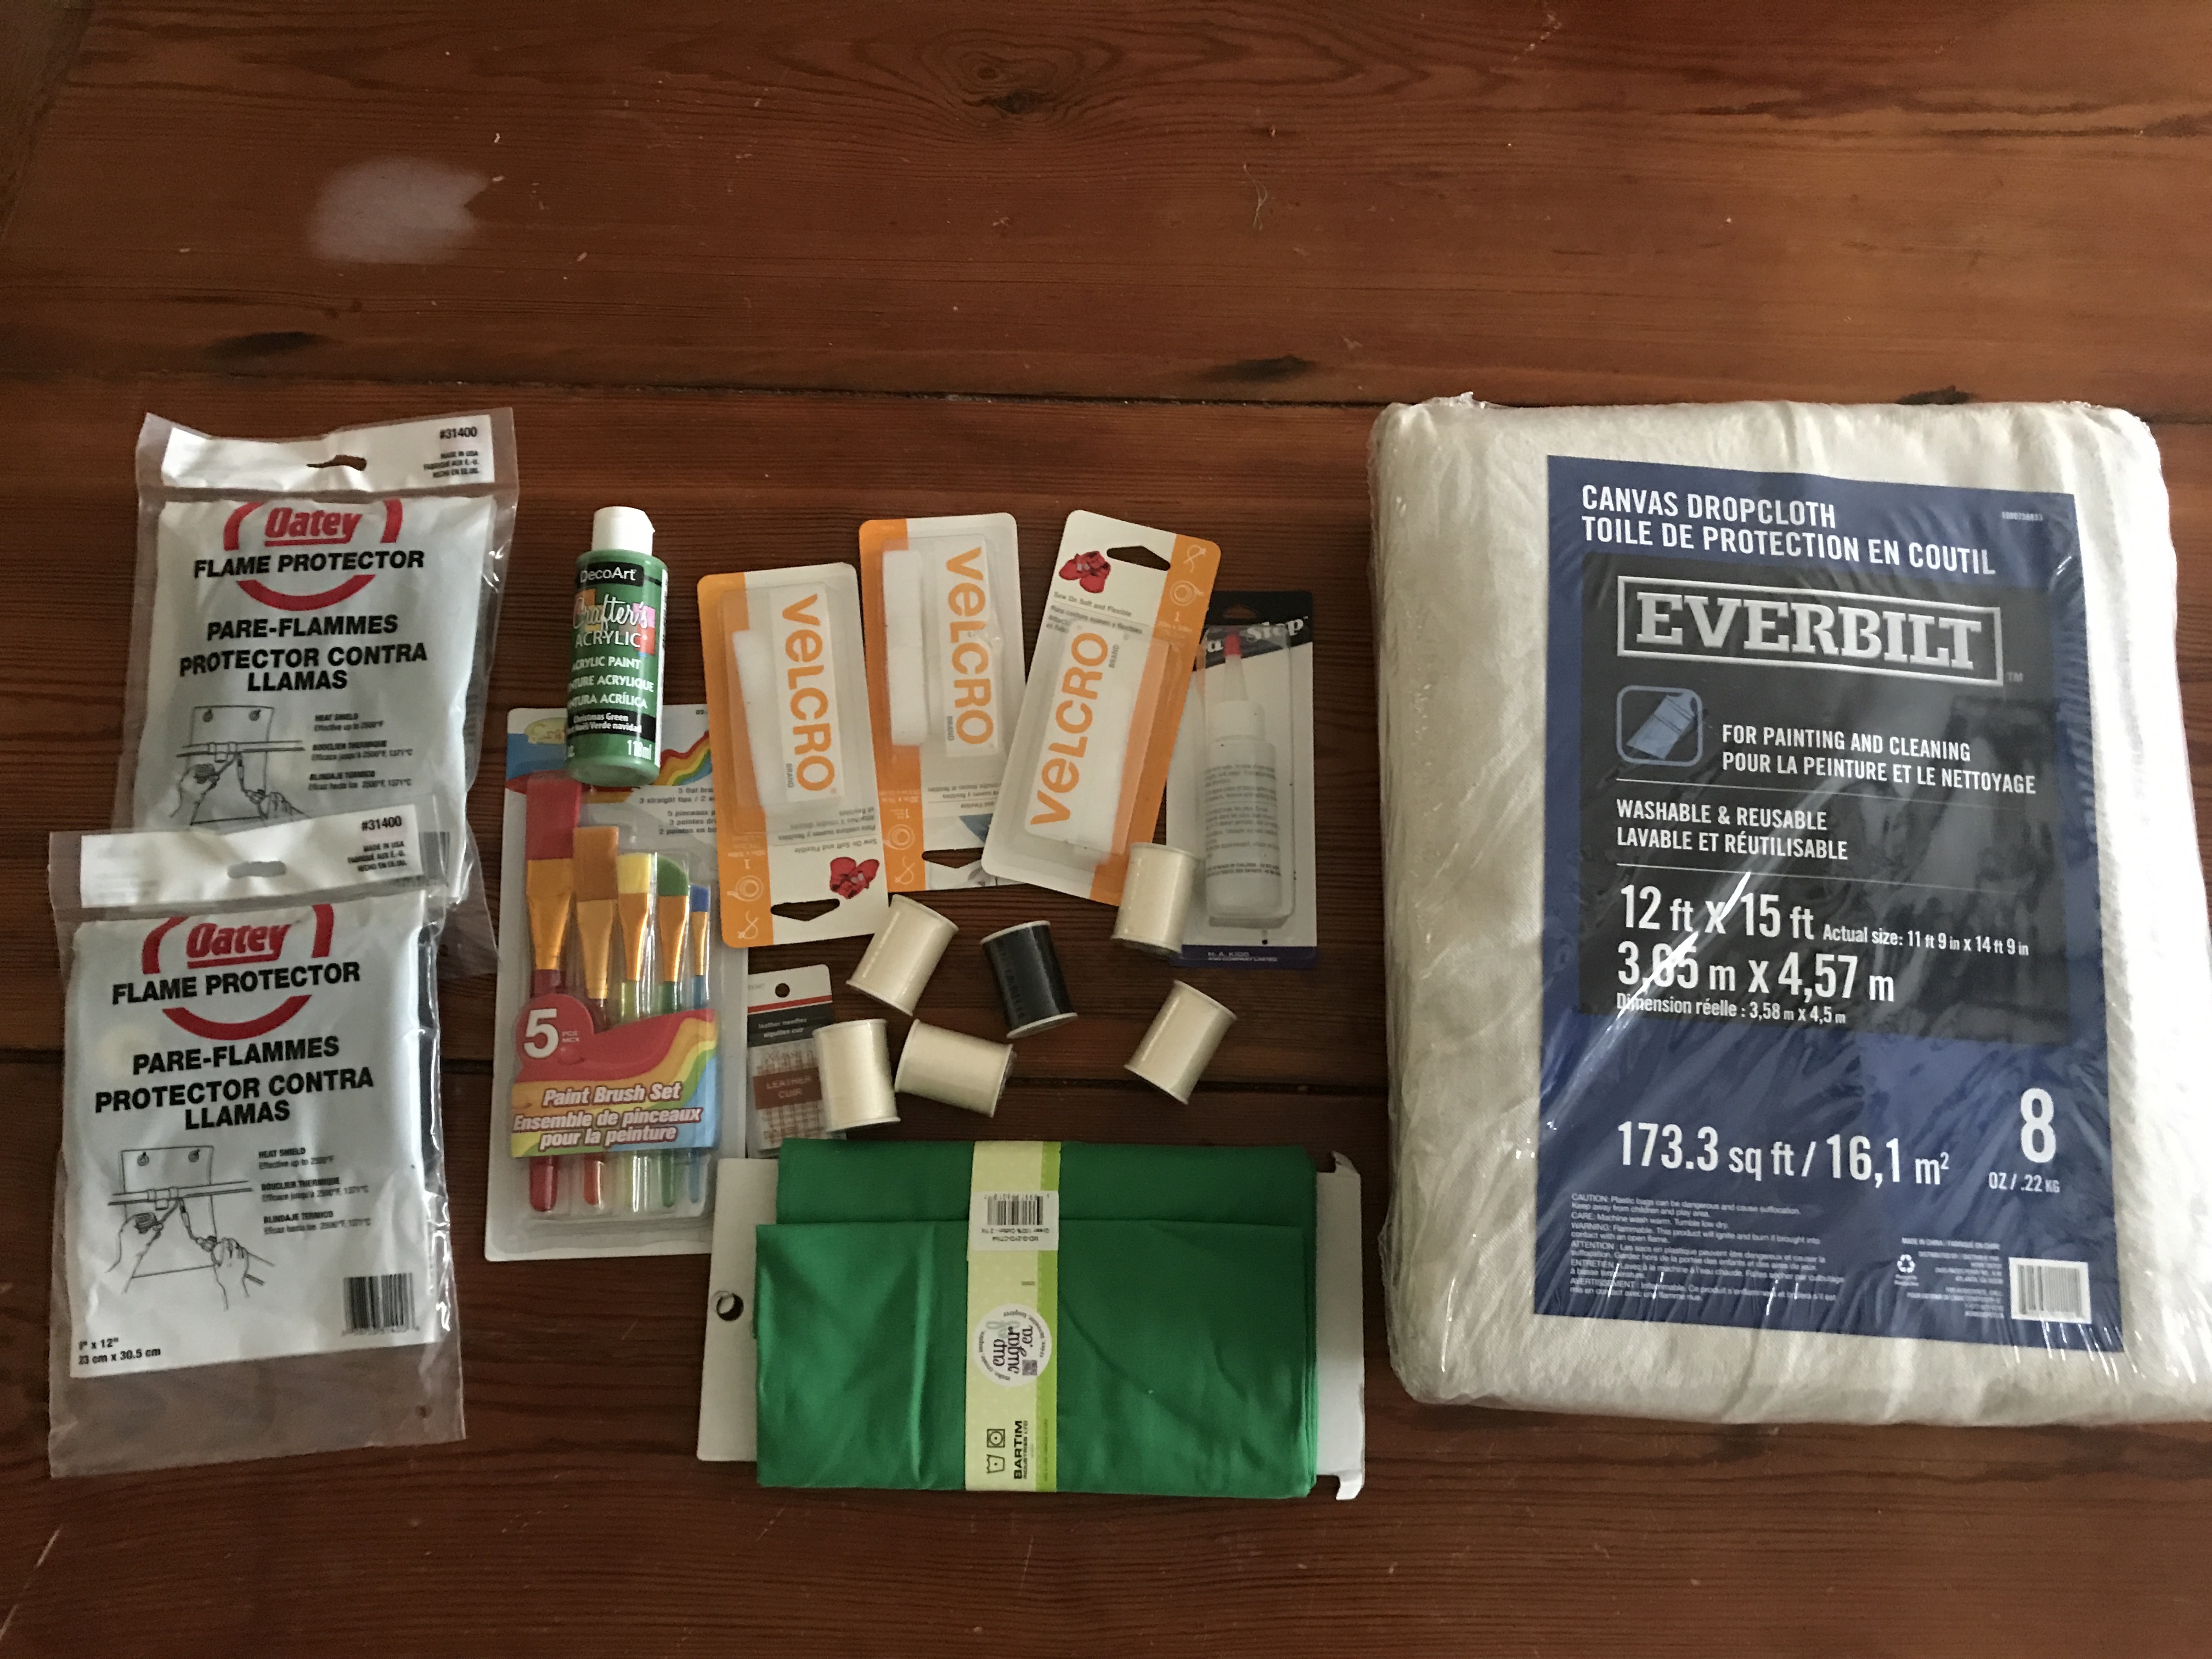
Saturday arrived and I was supposed to go on possibly my last canoe trip of the season. The weather forecast was horrible for the area we were going to and at 7am, we all decided the trip should be cancelled. I was upset and can’t remember ever cancelling a trip, but in lieu, I now had time to work on my new hot tent! I headed off to Bracebridge to the Home Depot to get the canvas and pick up everything there that I was able to get.
For the tipi I had used painters dropcloth and it worked great. I had no intention of changing something that wasn’t broken, so I got one 12’x15′ dropcloth for $50. I also got a painters pole which could extend to 10 feet but I would only need about 6 or 7 feet. This tent would be about 8-9 feet on each side and 6-7 feet tall, so the painters pole was perfect. Plus, it was only $10 and it was light. Far lighter than the steel poles I had used for the tipi.
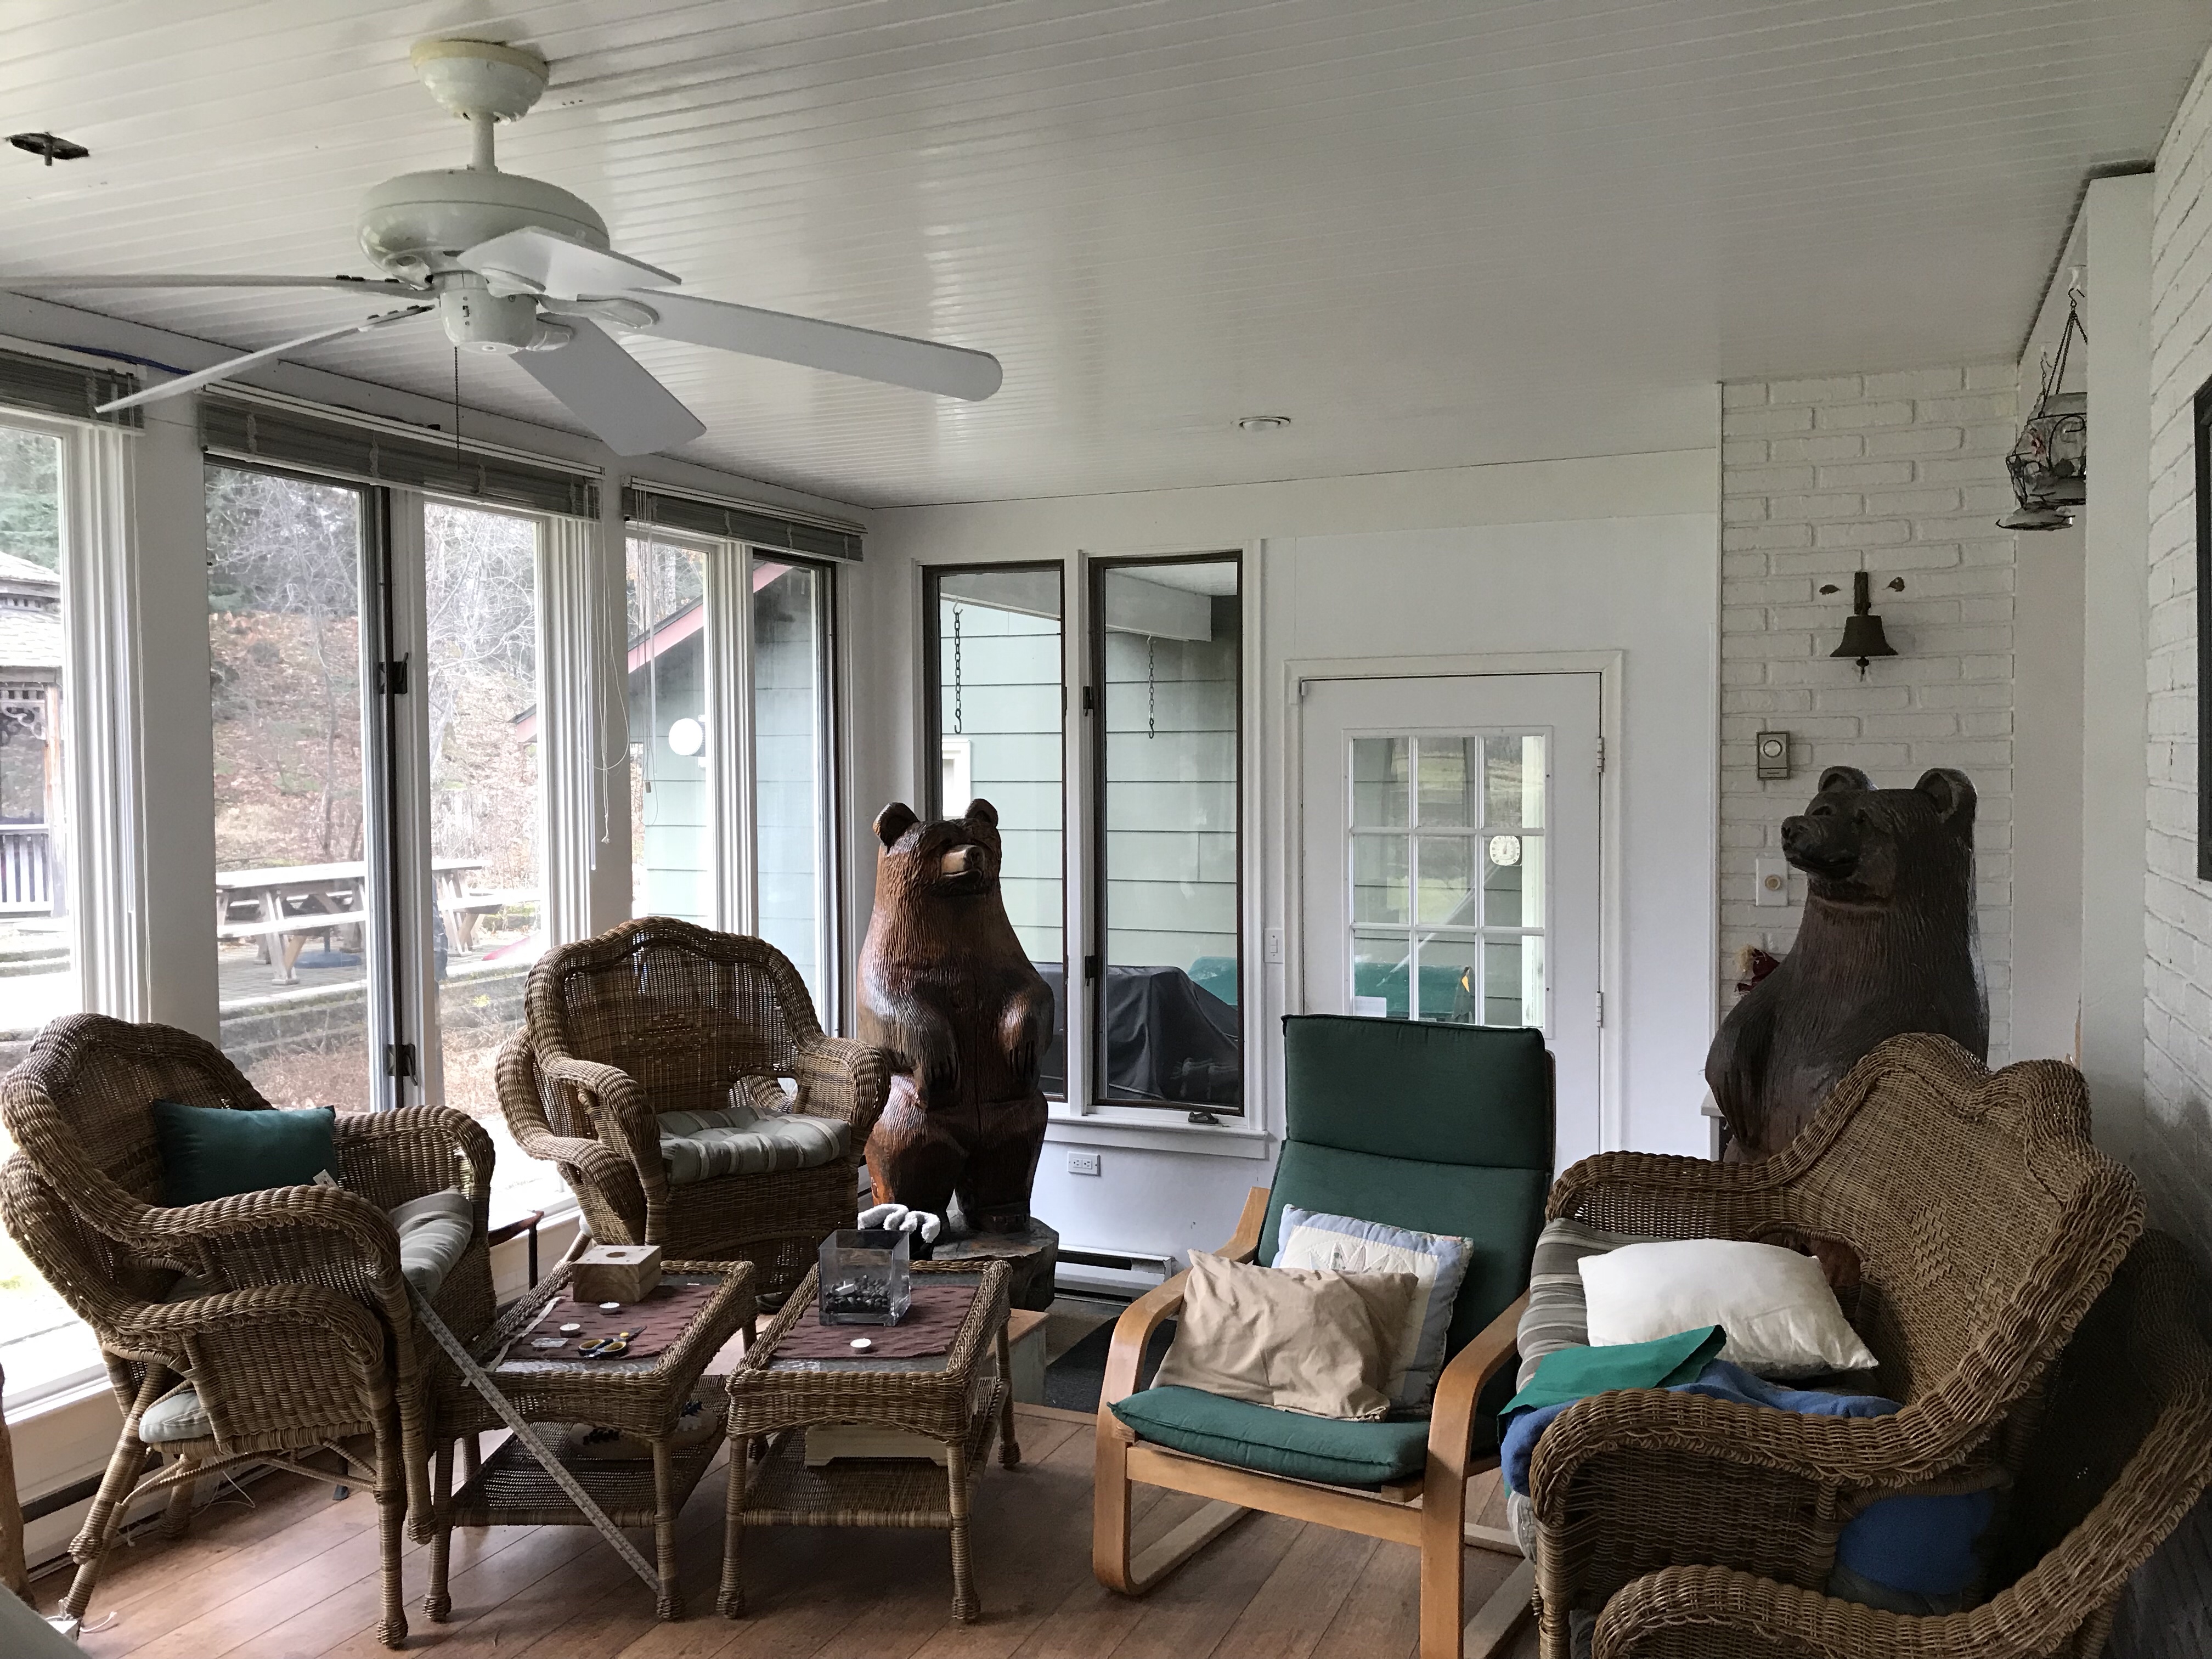
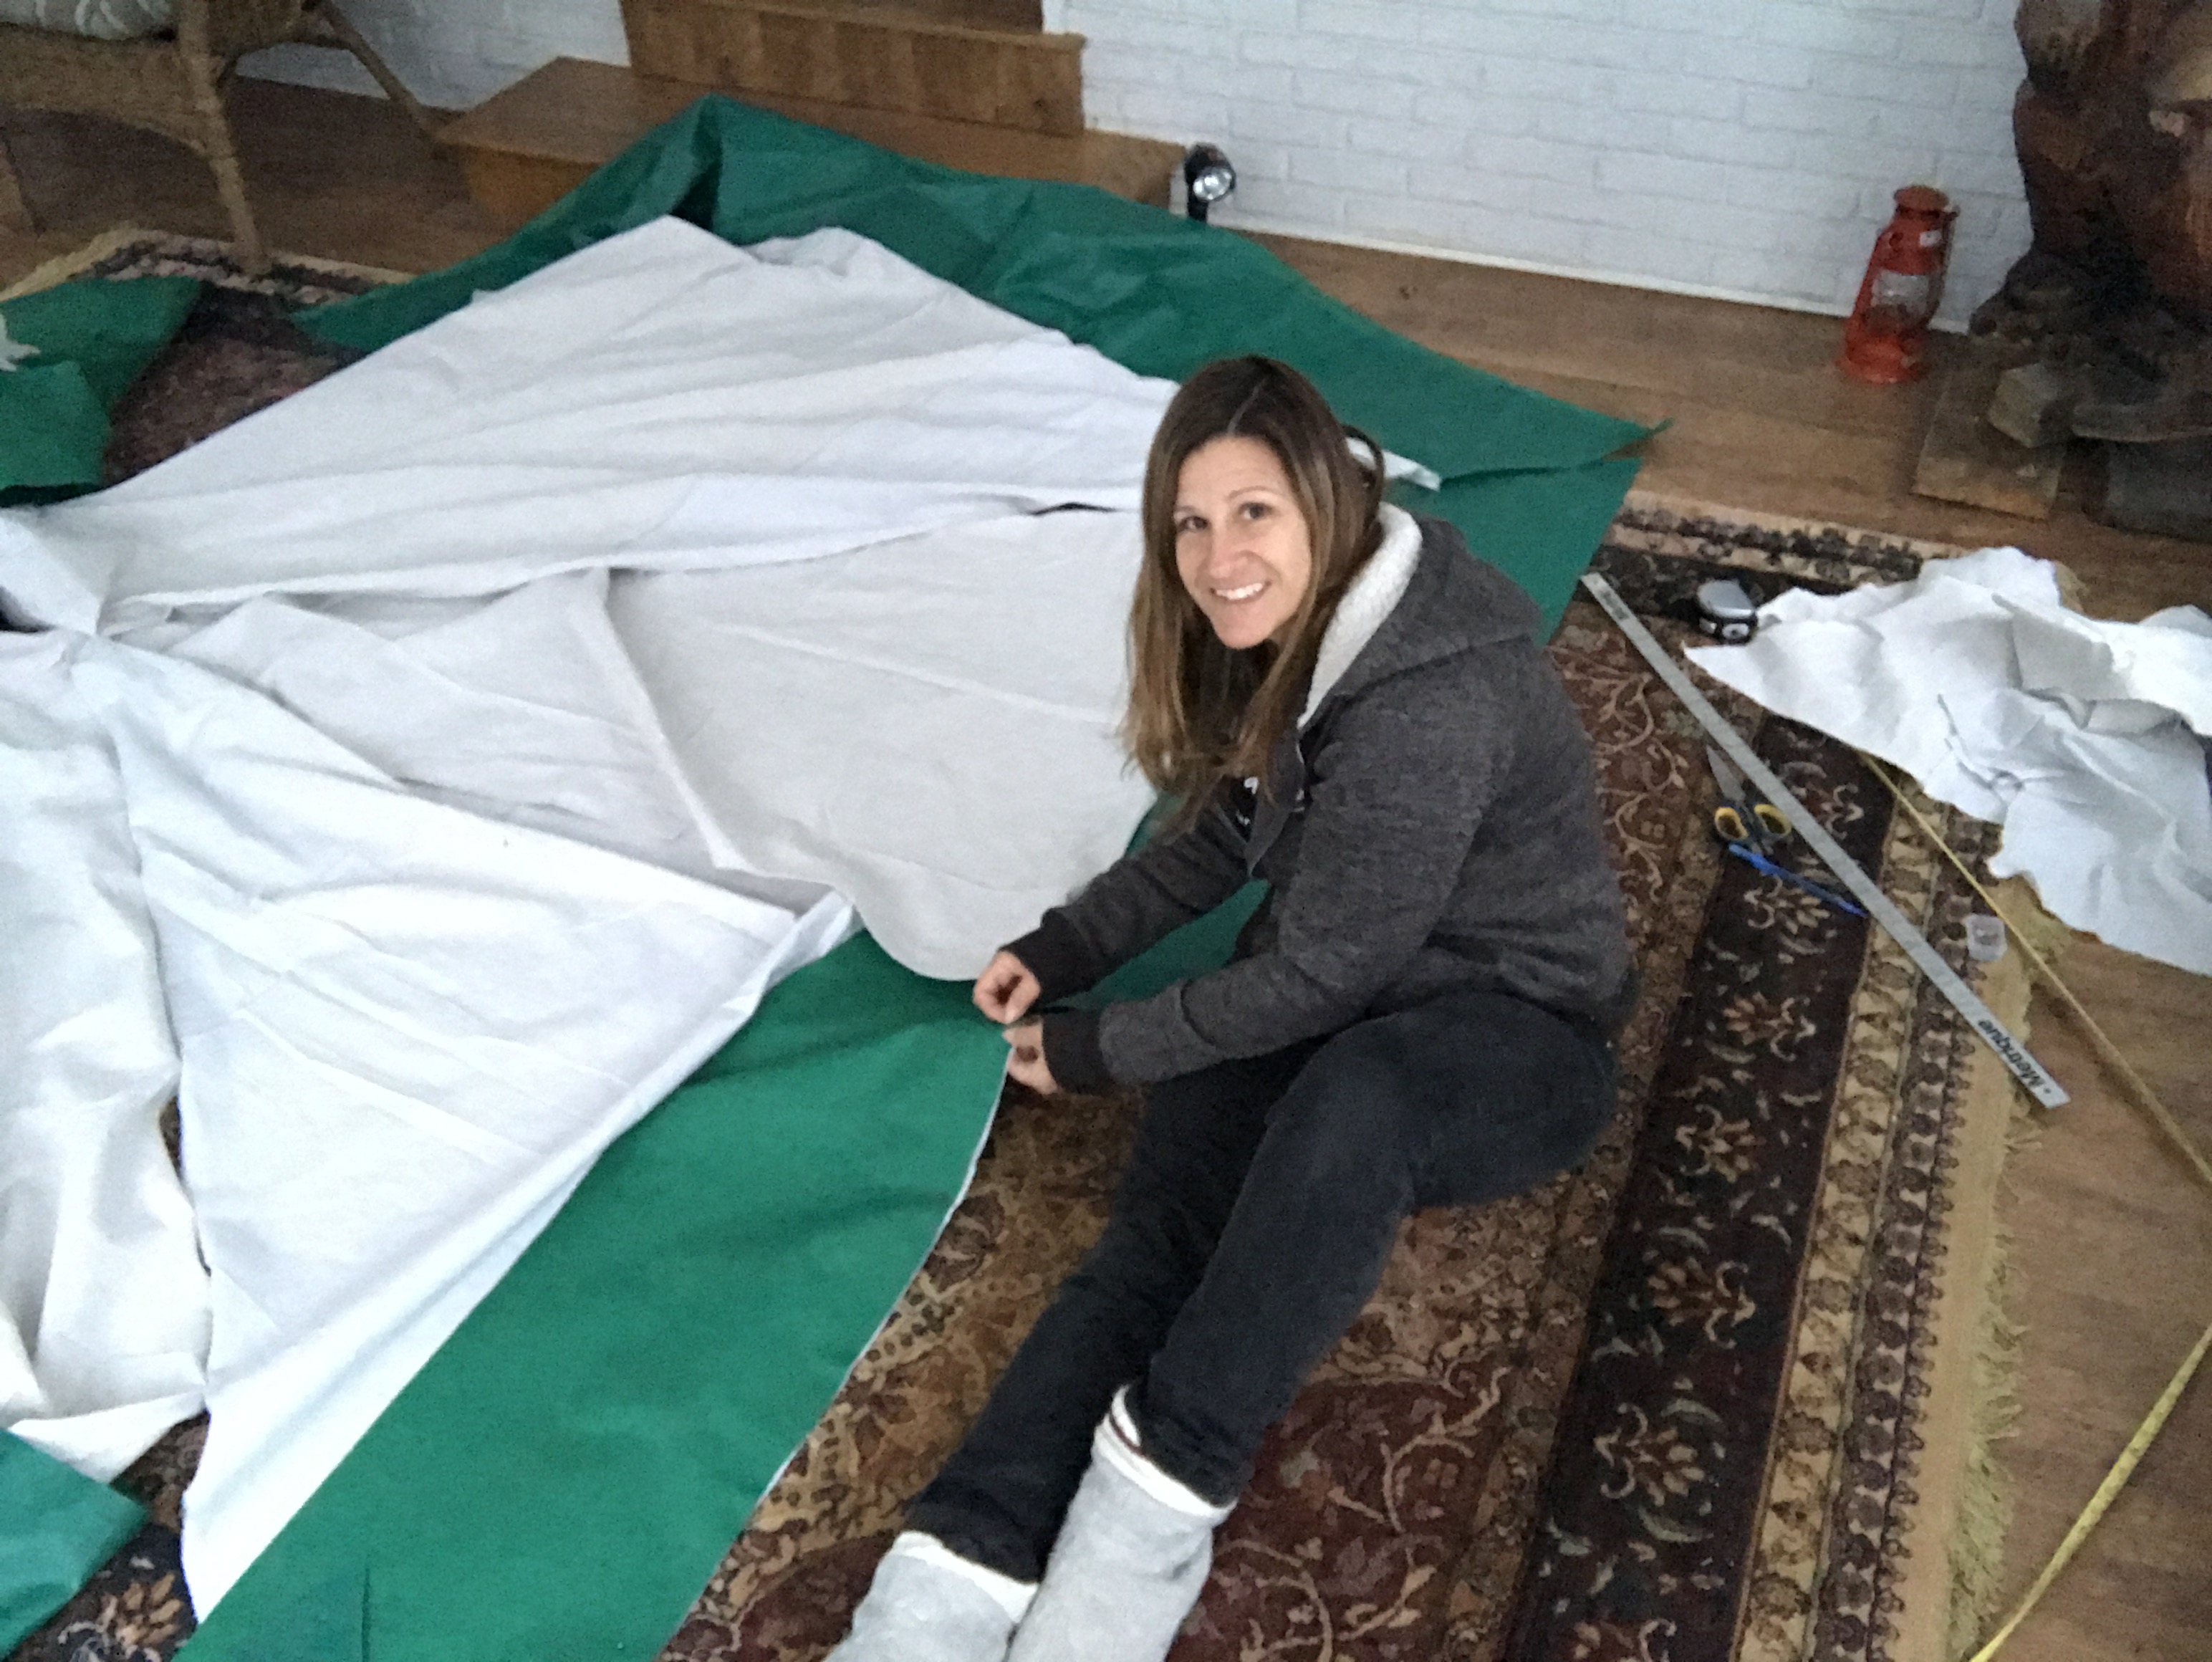
I cleared out the sunroom which was the only area I would be able to work in in the house. For the tipi, I laid out the canvas outside in my driveway at my old house, but since it was pouring rain, freezing rain and snowing this weekend, that wouldn’t do.
I managed to cut away the material I wouldn’t need in the small space I had to work in, and then drew the pattern on the canvas.
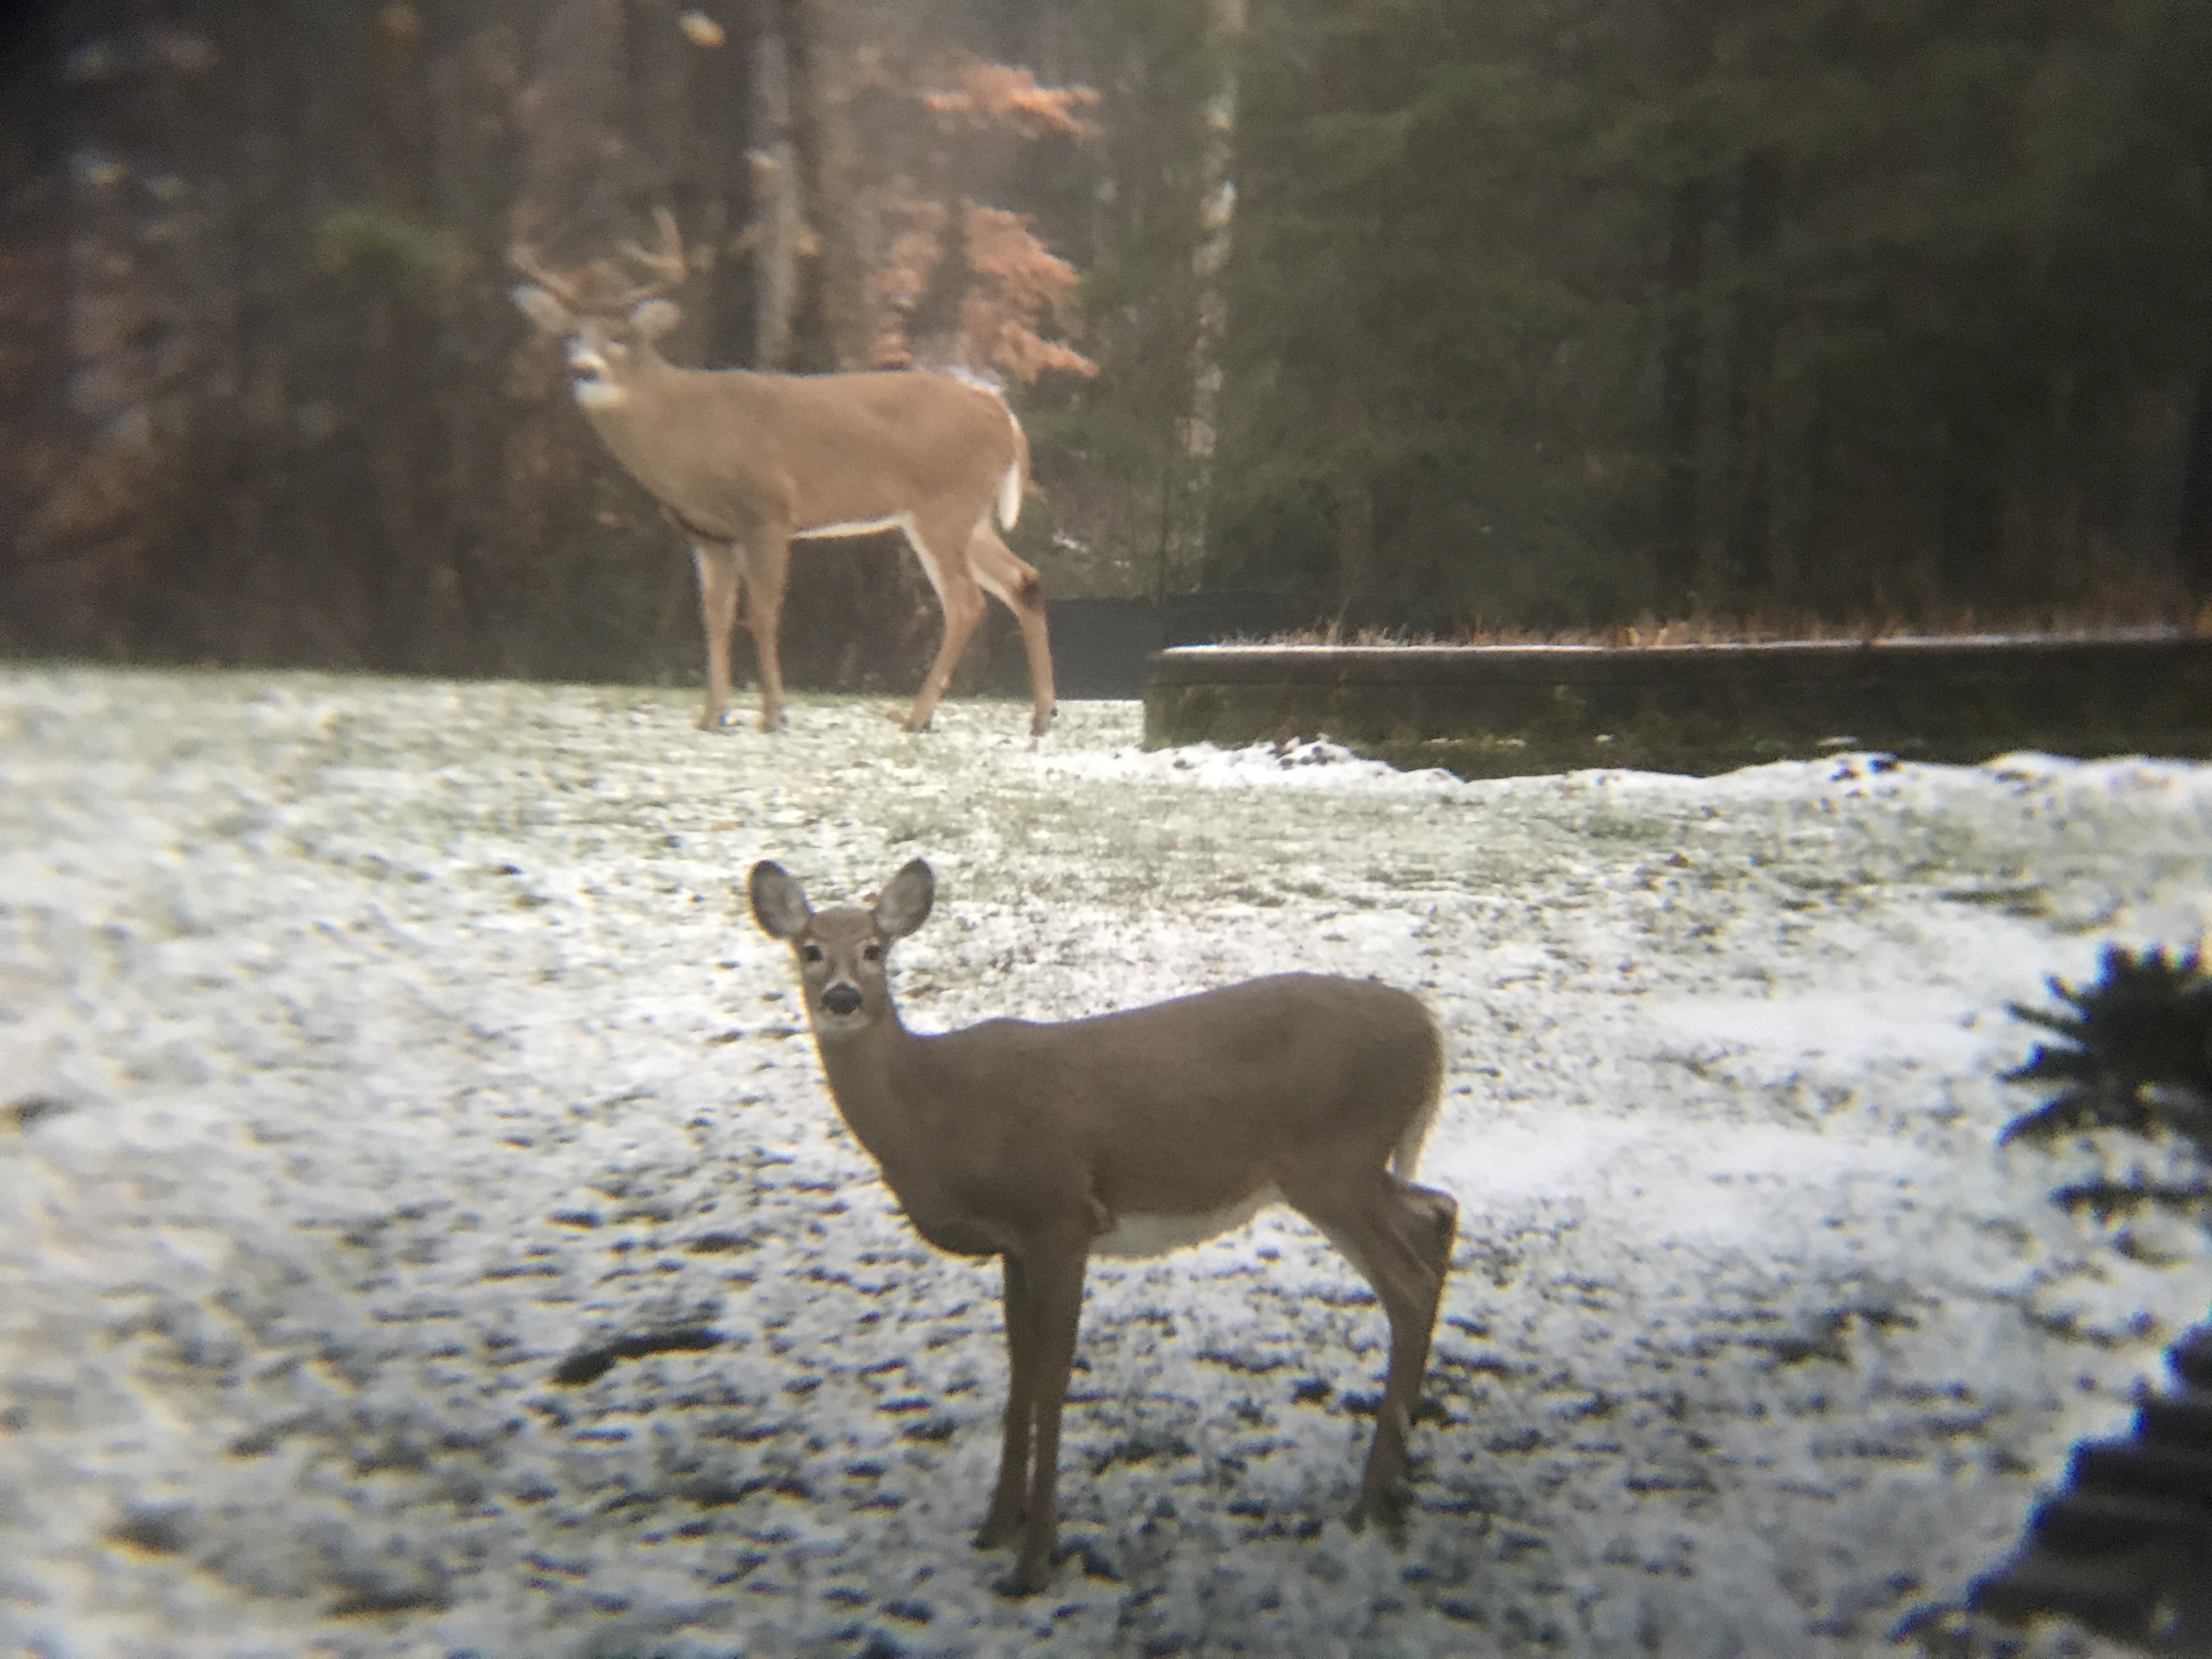
Seems some of the locals were very interested in what I was doing as well and stopped by to take a peek. I love where I live!
I took my time measuring and measuring again. Making sure every angle was right and all the sides were the same. I measured each side to be 9’3″ at the bottom and 7.5′ high. With seams, angles etc, I would loose some inches for sure, so this way I could be a bit less careful with my work. My friend Sue, from Sue’s Outdoor Crew helped me with a bit of the math, advising me if I wanted it a certain height, how wide the bottom needed to be. Thanks for the help Sue! Me and angles are not the best of friends!
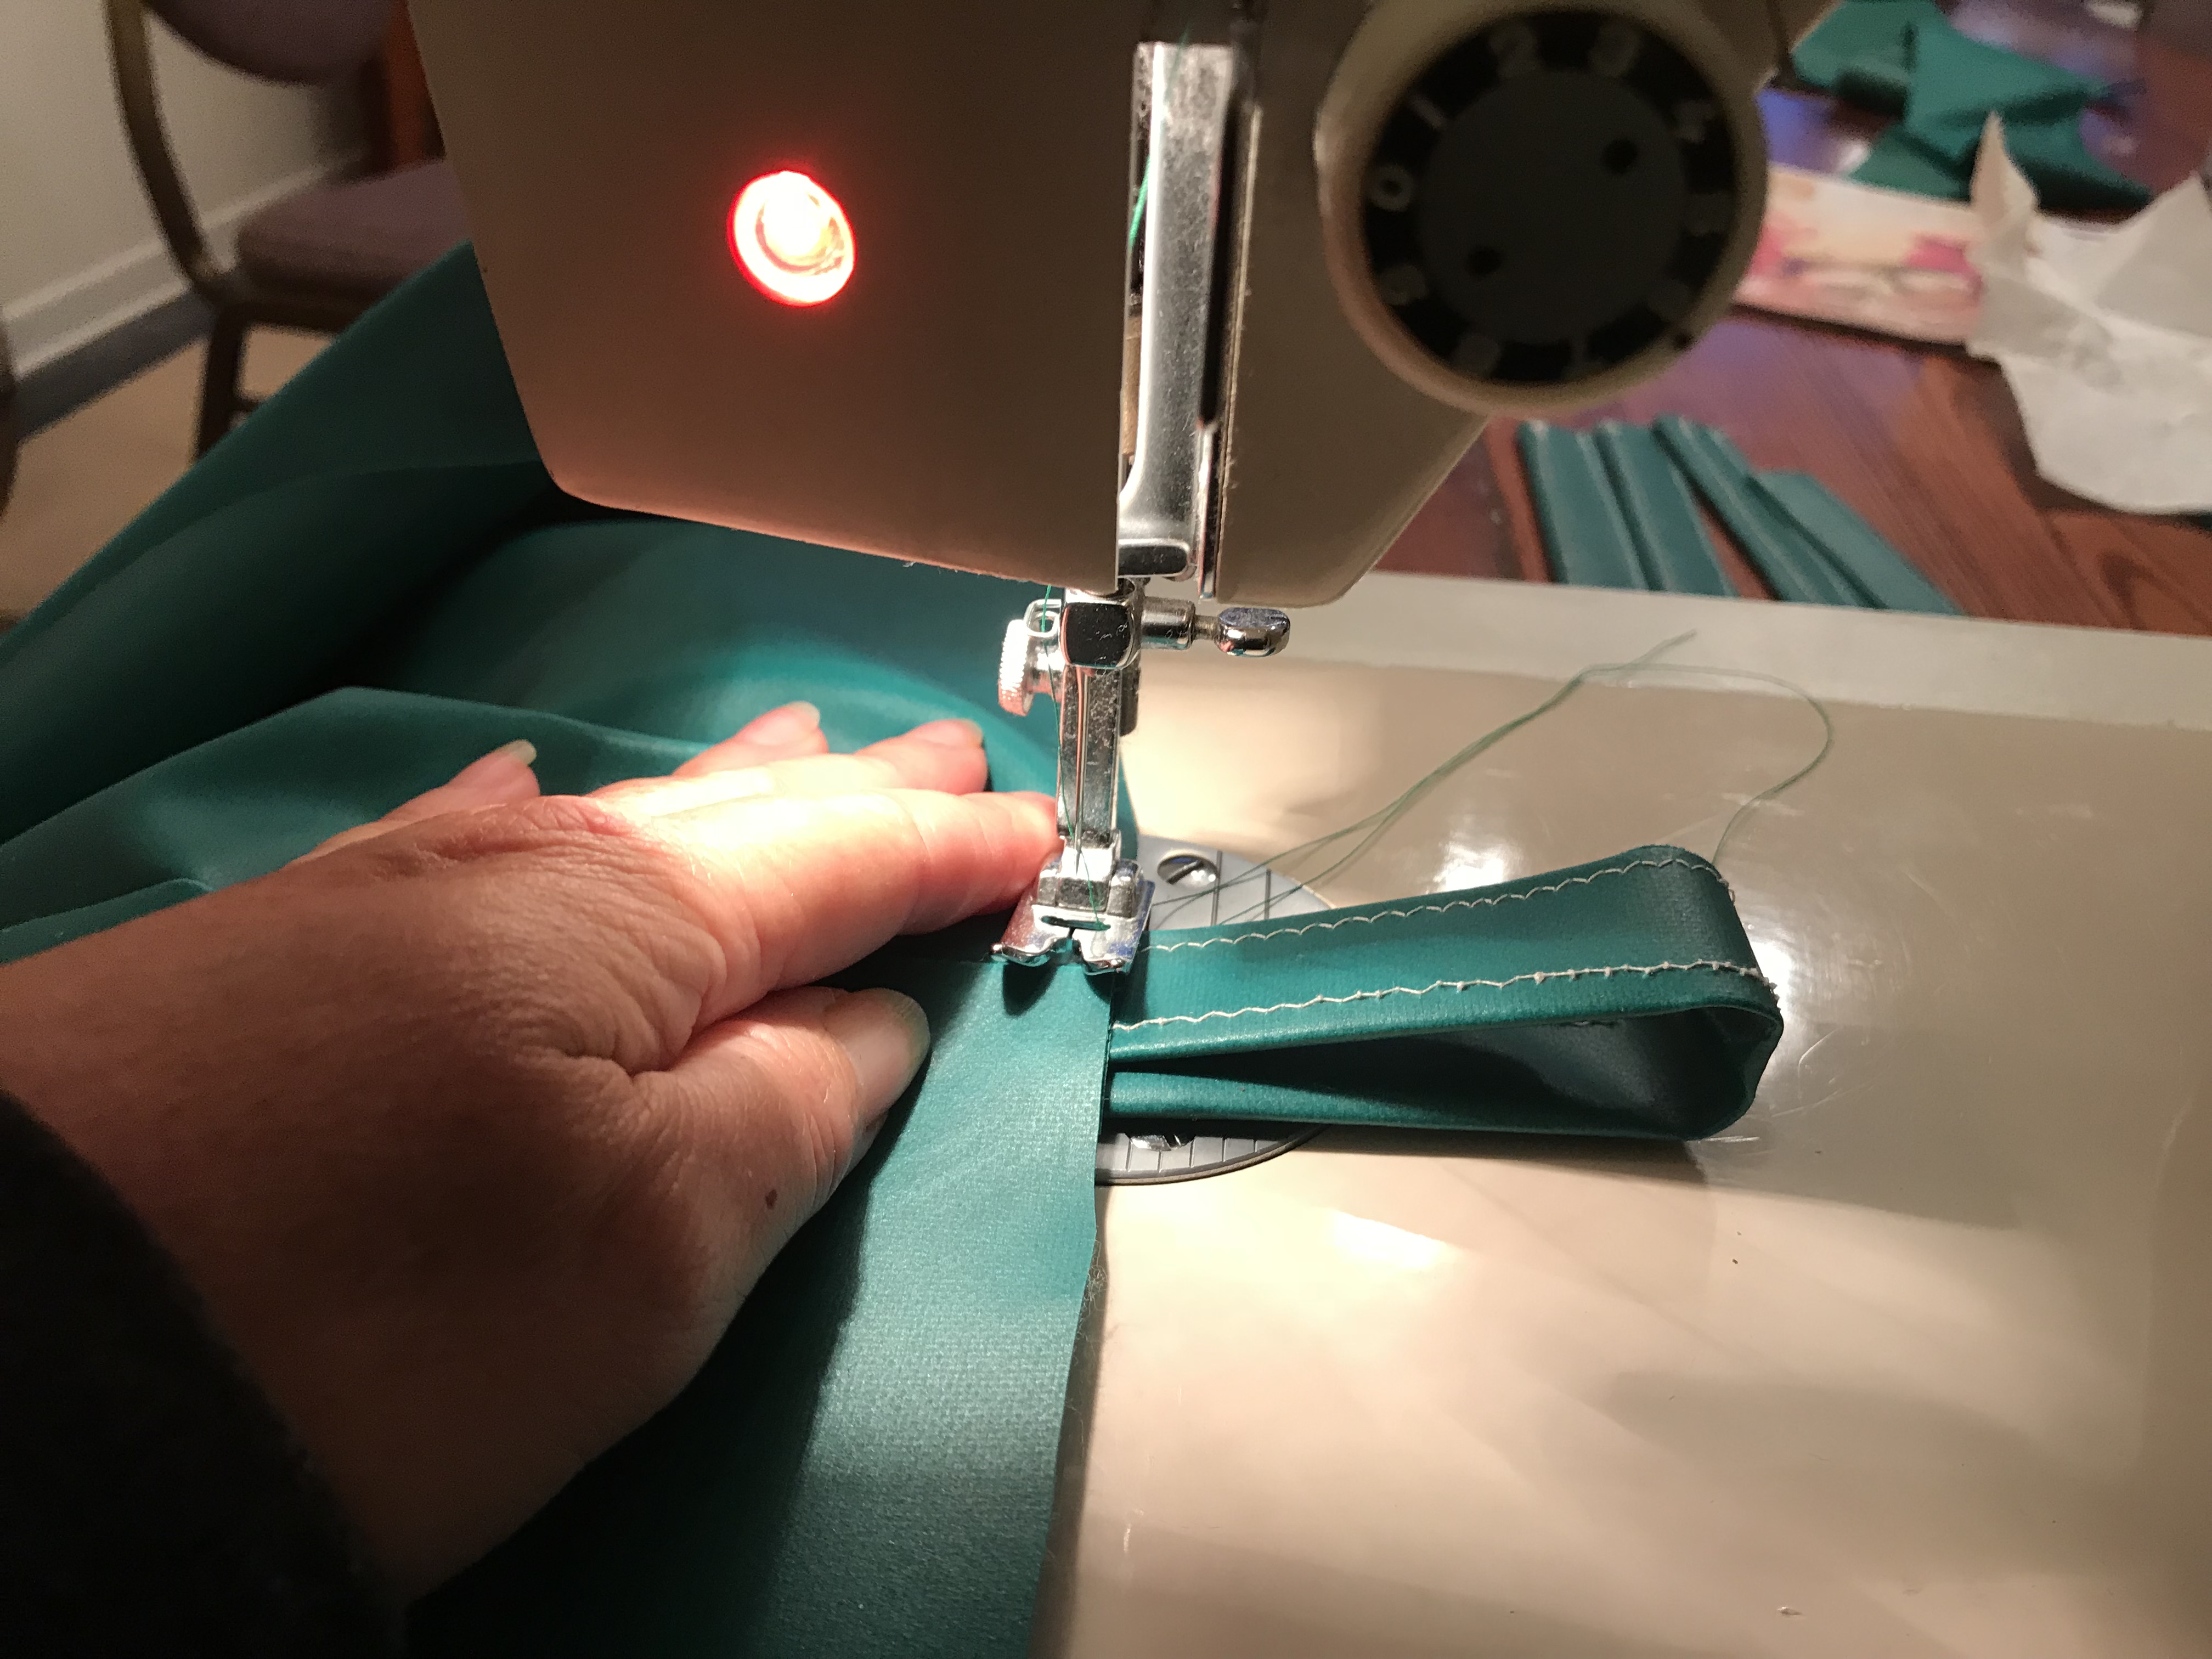
I worked until I could no longer see in the sunroom, pinning together the seams to be sewn and marking all the things out I needed to mark. Then I headed into the house to start sewing and got a few of the seams done before I was ready to call it a day. I was using a polyester thread, not the special thread suggested, so in order to ensure the seams were strong, I sewed every seam twice and then added a zig zag stitch to keep the fraying down. Canvas cut on a certain bias, frayed like crazy!
When I woke up the next day, I knew in order to continue on I would have to drive an hour each way to Barrie to go to Fabricland and get the green plastic coated canvas I’d used at the bottom of the tipi. This would keep the snow and ice from sticking and me taking it back home with me instead of leaving it where it belonged, on the ground.
I measured it out, not once, but twice, marked the inside of the material and then cut it. I pinned the green plastic coated canvas to the bottoms of each panel. More sewing!
It was slowly starting to come together but the sewing was taking forever. I spent hours sewing each seam twice and then zig zagging them, but I wanted it strong and I didn’t want any issues with it and preferred to do it right the first time, so I continued on. I began thinking about the door and the enclosure and decided to go with a huge zipper made for canvas projects. I ordered it online and paid extra to have it arrive next week.
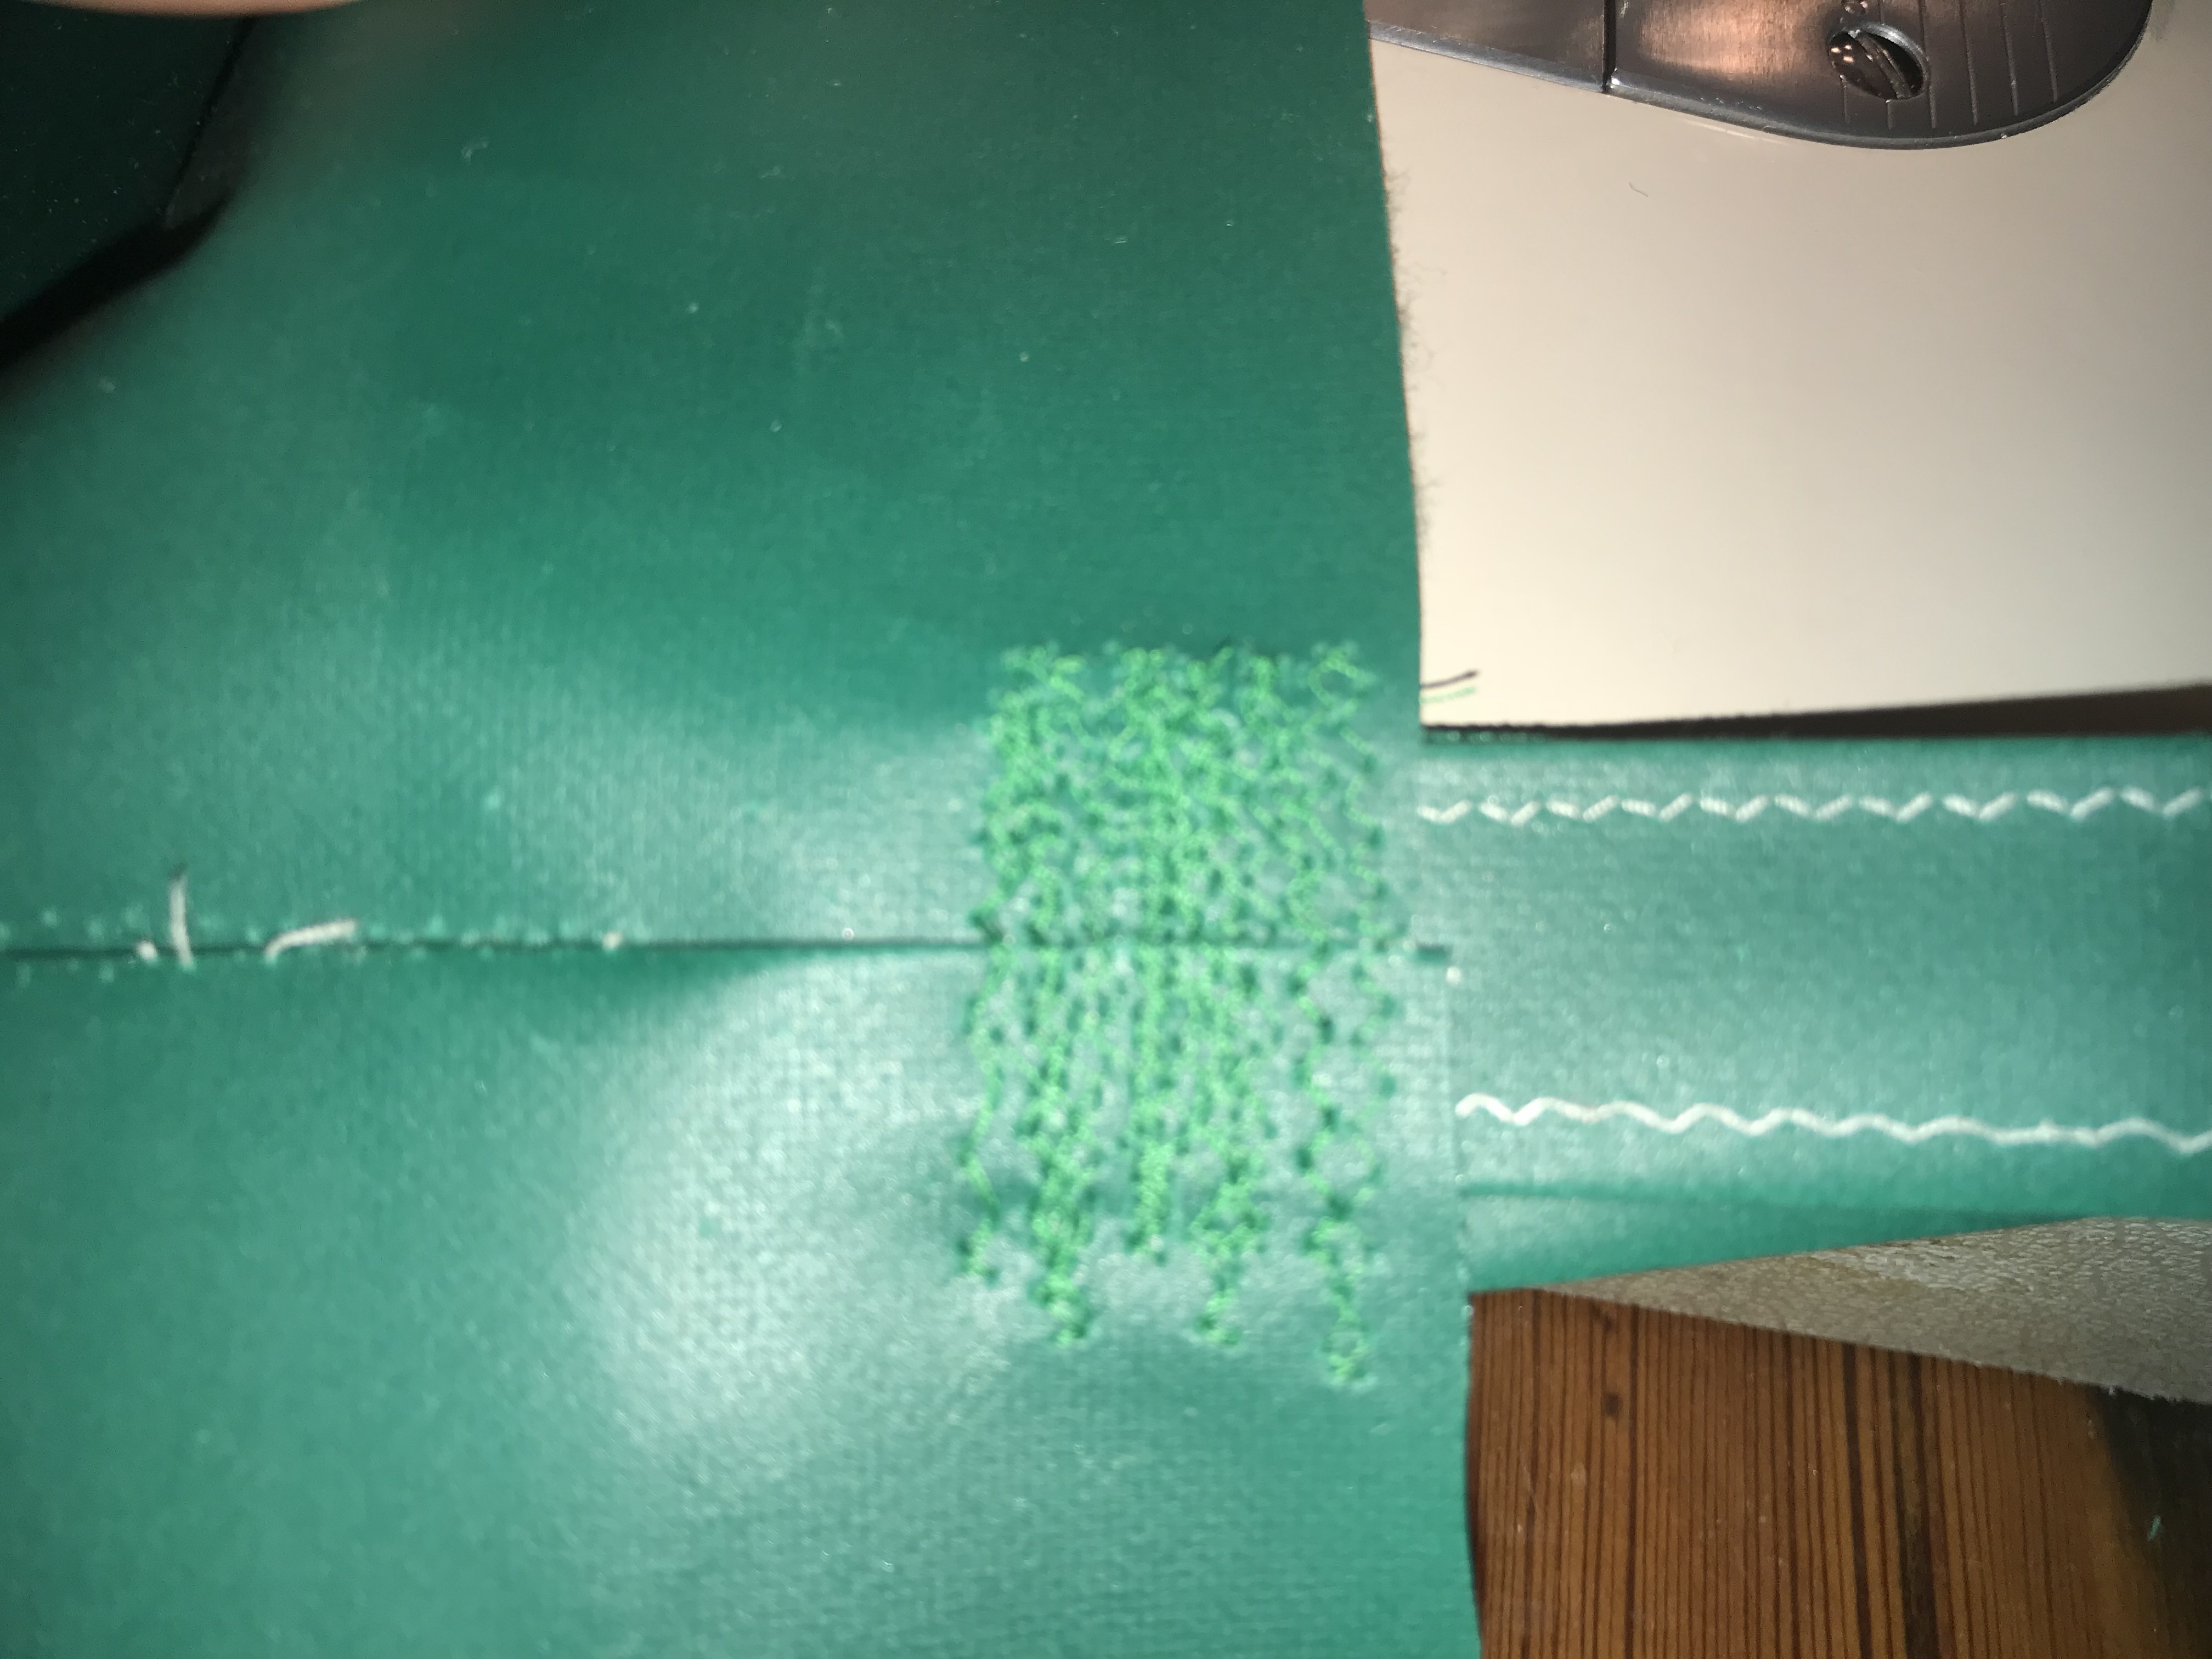
The next thing I needed to do was make the loops to attach to the bottom. This would allow me to stake the tent into the ground so that I could erect it. I took some leftover green plastic canvas and folded it over a few times and sewed it together making very very strong loops. Then I attached one into each of the four corners while closing each of the seams on each side.
I sewed this over and over and over again making it super strong. These needed to be very durable, and they definitely were and I didn’t care how they looked. They would not really be seen as they would be in the snow and it was more important to me that they be strong and not pretty.
When I laid out the tent after putting in the loops, I noticed a huge flaw in the material, of course, right at the very front of the tent. URGGGGG
It was a gnarly mess. This canvas was actually far nicer than the dropcloths I’d gotten for the tipi and I was grateful but it wasn’t perfect apparently, which I couldn’t expect it to be. But of all the places this flaw could land, the front left panel, was the worse possible place. I had just sewn the back 2 triangles together so now I was left with a dilemma. I got out my 2 canvas bags with logos on them. I would be putting my camper christina logo on the tent at some point. I could cover the flaw with the logo but it wasn’t quite right. I thought about it long and hard and in the end decided to spend the extra hours opening up the back seam which in the case of a double seam and zig zag meant just cutting it open and loosing a few inches. Then I sewed the front shut where the zipper was to go and switched the back and the front. Because the canvas was so big I had laid it out folded in half and didn’t see the flaw until it was too late, but I was happy I took the extra time to put it in the back of the tent. Knowing me, I would regret not fixing it every single time I saw the flaw staring at me at the front.
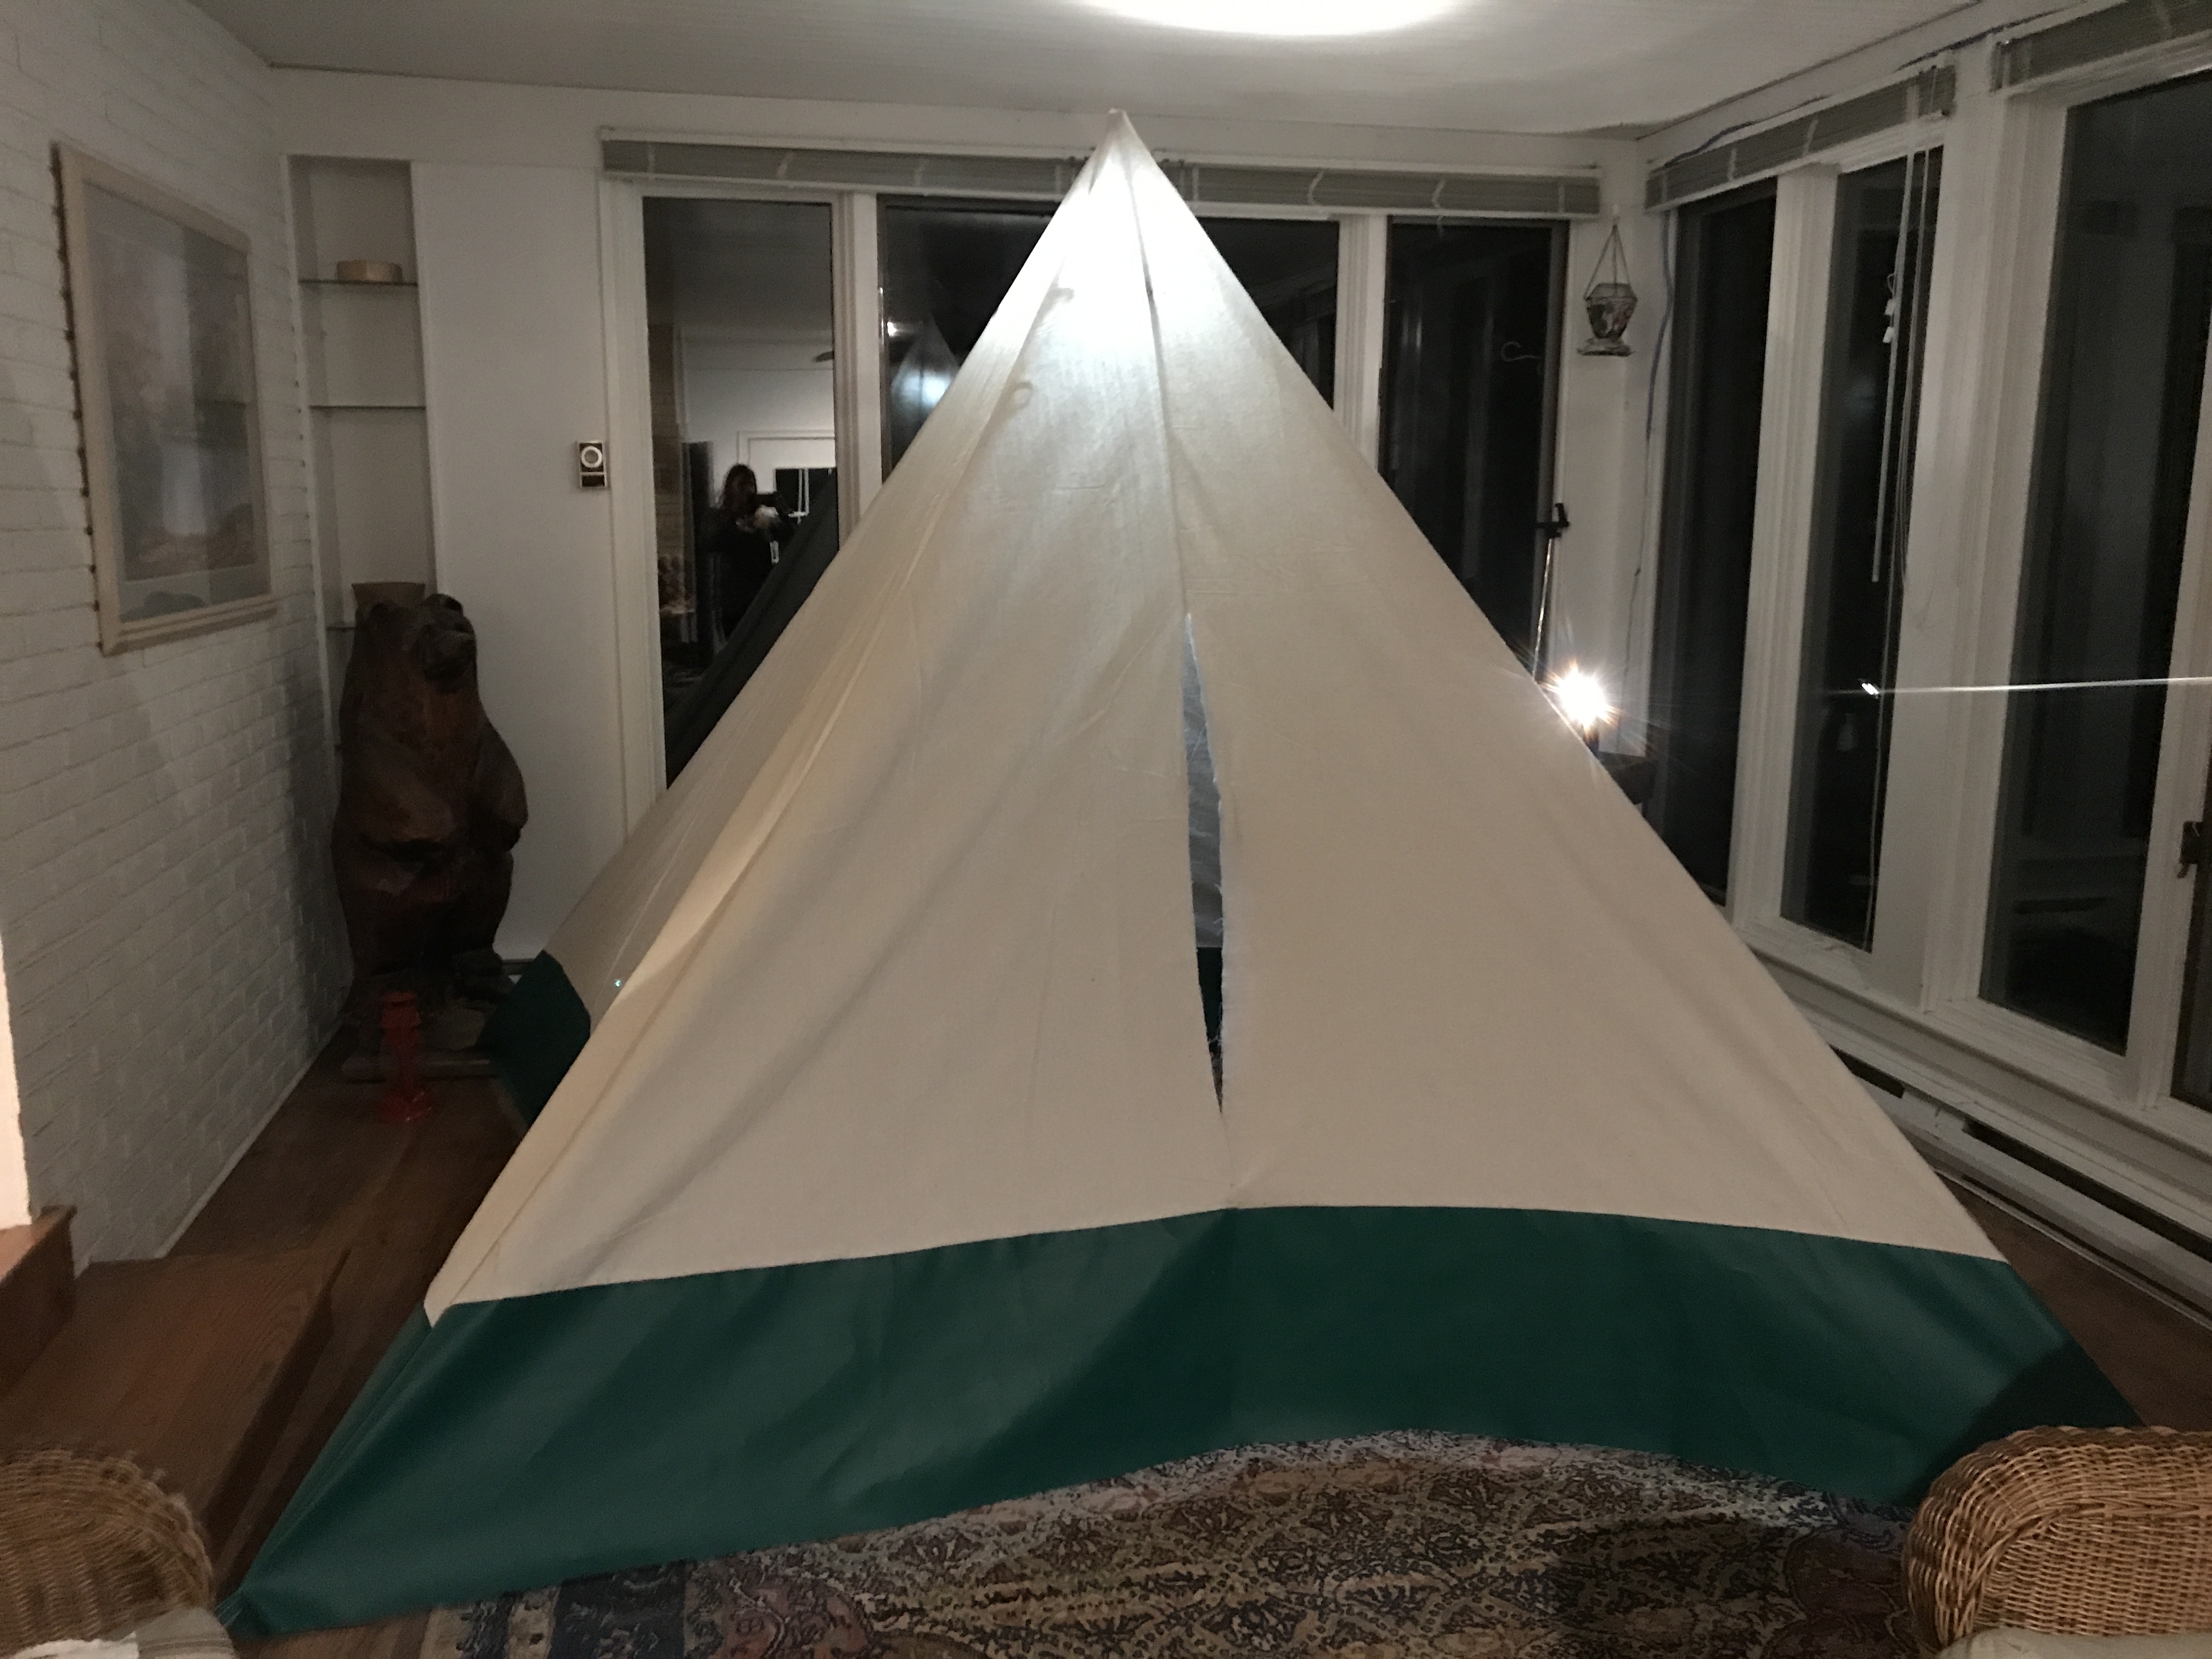
Now that all the seams were sewn I could try erecting the tent. It wasn’t really quite ready to go up, but I HAD to see if it would work. I honestly had no idea for sure if it would. My only example was a 9″x9″ x 7.5″ model and it could be totally different on a bigger scale. I had to be creative as I couldn’t put it up outside. It was dark and raining and not the best environment so I had to figure something else out in lieu of using the stakes. I put one corner under a water fountain, one under a giant wooden carved bear and the other 2 were tied to the wicker furniture legs that were in the room. I unpinned where the zipper would go and got inside with the pole and slowly raised it up, holding my breath.
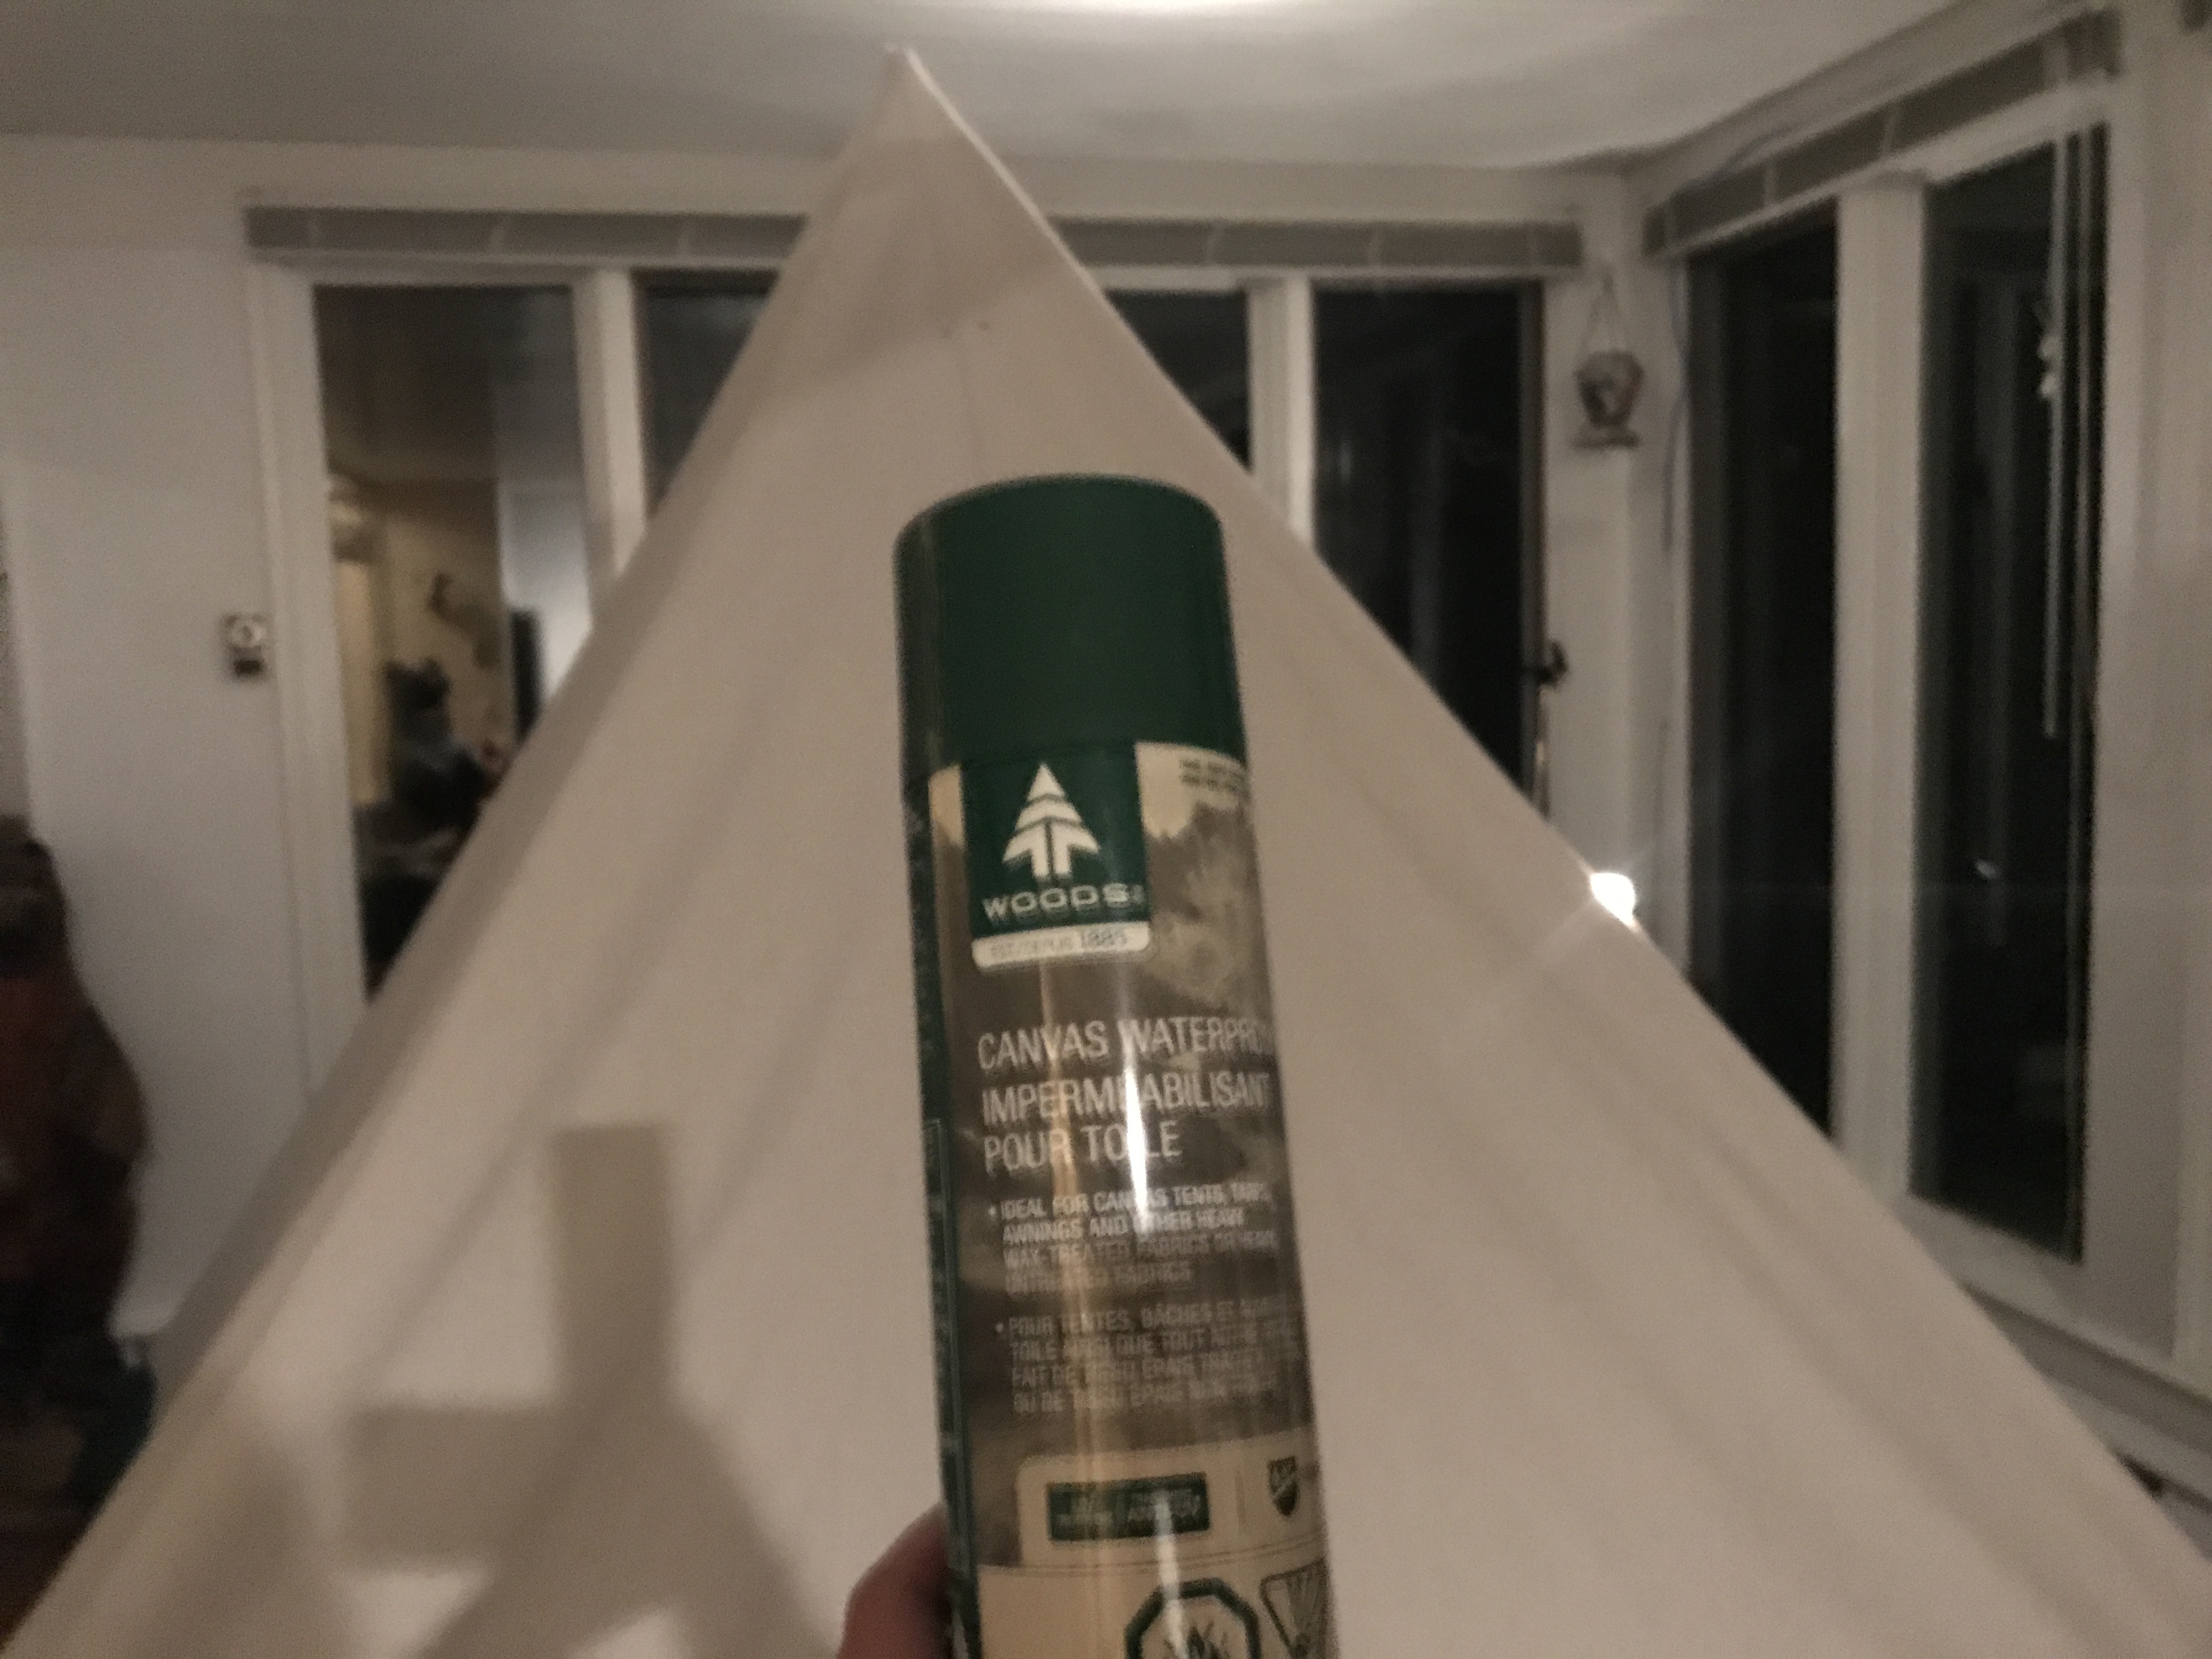
It stood and I was totally elated!!!!! And it looked pretty awesome to boot! BIG SIGH OF RELIEF. I sat inside of it for a while figuring out where I would sleep, saw that another person could also sleep in it and where the stove would go etc. I looked to see where to sew loops into the canvas other than the ones I’d already put in to hang my lantern, rig up a clothes line, hang a light over my head if I wanted to read, etc etc. Since it was up, I decided it would be a good time to start the waterproofing so I grabbed a can of it, opened the windows as the entire room was all windows, and did the first coat of waterproofing spray, then I called it a night.
The next day after work, I decided to take the tent outside and set it up. I wanted to make a short video and take some photos for social media. Sadly the zipper hadn’t arrived yet, so I just pinned the seam closed where it would go and took the pins out again to take an inside photo.
I was quite happy with my creation so far. It was coming along very nicely, but I was anxious to get it finished. Unfortunately, until I got my new stove and my zipper, I couldn’t do too much more, so I took the weekend off and headed to see some awesome peeps at the Ontario Winter Camping Symposium. In my next post I will put the zipper in, add a zipper fly to keep the zipper protected from ice and snow and hopefully from freezing up, and complete the scariest part of the project for me, installing the stove jack. In addition, I had a few small projects to do and then the tent will be ready to take out on a trip. I can not wait to test it out!
Here’s a short video that I posted about the new tent to show what’s left to do on it.
Since you’ve checked out the blog post, here’s a link to the video being published on Thursday. Hope you enjoy it!
Happy Tent Making!
Camper Christina
Just a note that I am not a professional tent maker. I am making this tent for my own use and may make mistakes along the way, but that’s all part of learning. I also am making it because I like to do my own thing and be a little different. There are many ways to do something, this is just the way I decided to do it. 🙂














Necessity is the mother of invention. I like your creativity and work ethic. Let us know how much it weight when you’ve completed it.
I don’t have a scale. It can’t weigh much. The canvas is 11lbs and I took 3 feet off of the 15″ length. The stove weighs 18lbs. 🙂 Just working on putting in the stove jack tonight finally. Been waiting for my long lost stove to be found by Canada Post. 🙂 Thanks so much for checking out the post and for commenting. Much appreciated! 🙂
Wow so excited for you! You must be using a heavy duty sewing machine to go through the heavy fabric
Where did you get the fireproof material for around the stove jack? Looking forward to the next instalment!❄️❄️❄️🏕🏕🏕
Hi Barb. Just a regular sewing machine. The fabric is actually very light and lovely to work with. 🙂 The stove jack material is a welders blanket. More info in the next post! 🙂 thanks so much for reading the blog and for commenting. Did you watch the video as well?
I just want to say: you are awesome. Love that you worked all this out on your own. You are very resourceful, and clearly have some skill. But mostly you are awesome because you follow your passion and share it.
AWEE!!!! THANK YOU!! I am tearing up over here. What a great comment to see first thing in the morning after a long night fighting with my tent. 🙂 Thank so much! I really appreciate it! Hope you stay tuned. 🙂
thanks for sharing all this detail!
Thanks for checking them out! I appreciate you also taking the time to comment.
Wow fantastic idea. I talked to my wife about 2 weeks ago about thinking of making a hot tent and the first material suggestion was painters drop cloth and then I saw your video with same material, this is genius!! I can’t wait for your next video. Awesome job !
That’s so great. Thanks for checking out the posts and videos . This is actually my 2nd hot tent. I’ve also made a Tipi using the same canvas 2 years ago. It’s holding up well. Hope it helps you with your project.
[…] future. This is where Camper Christina enters into my experience. She recently built a new hot tent, and I was lucky to be the her first […]
This is amazing! I haven’t been hot tenting since high school and I thought I’d be forever limited to cold tents! Would you be offended if I copied you?
Wish I could camp with you! Every time i invite friends from here in Toronto to go winter camping they look at me like my heads on backwards!
Thank you so much Laura no not at all. I would be flattered. I will be mew Lake for family day weekend camping with lots of other winter campers. It’s a great place to check out set ups and meet other campers. Even if you can’t camp you should come up for the day if able. Thanks for checking out my post. Hope to meet you one day soon!
Hi, been watching some of your videos. It’s awesome what you do!! May God protect you and bless you. May he bring good people into your life.
Thanks so very much! I appreciate do you taking the time to comment and checking out my videos. Have a great day!
[…] year I built my second hot tent. This one specifically to take into the backcountry. The first, the tipi was made to do so as […]
This is great! Thanks for the details. I teach high school outdoor Ed and have been thinking about making our own hot tents over time. What I’m looking for doesn’t seem
to be available, and I like to foster the independent diy spirit in my students. Your photos will really help with our process.
That’s awesome. You might want to wait a bit. I just made another tent, not sure if you follow me on Facebook etc? It’s a 10 x 14 and much better suited for big groups. I will be posting the video series on how I made it starting next Thursday. CamperChristina.com on facebook as well as youtube. Cheers!
What a great article, thank you for posting this story. I’ve been mulling over sewing a tipi and this info was exactly what I was looking for. Great work, please keep it up!
HI Chris. Thanks so much for the comment and for checking out my post. I have actually made 3 hot tents now. The original tipi is also here, in addition to the post you read. The bigger hot tent I created last year which is a 10′ x 14′ is only on my youtube channel. Let me know if I can help further? Cheers! 🙂
It looks good ! Nice job . Thanks for sharing projects !
Hi Mike! Thanks so much for taking the time to comment and for checking out my post. I also have a three part video series on YouTube on this project if that helps? Have a great day!
Hi , yes I would like to check out the Hot Tent video series . Is the Mew Lake winter camping event on for 2021 ? It would be great to check out all the styles and types . Thanks . MikevV
I do not believe the family day event is going to officially happen at Mew Lake, but I know many people are still camping there that weekend.
I have 23 part series on making hot tents one is for a solo hot tent which is 8 1/2 x 8 1/2 and very simple which I use for the back country and the other one is a larger hot tent that I made last year which is approximately 10‘ x 14
Solo tent:
https://youtu.be/a7fiUN-imxc
Bigger tent:
https://youtu.be/w4fZogY55DY
Let me know if I can help further? Cheers!
Oh , thanks ! I’ll look for the series . I would like to make a smaller hot tent that is roomy for one or two people . My sewing machine is my biggest fear . I affectionately call it Mean Machine .. lol . Take care !
The solo one Would work for two people who are in love LOL I have fit two people who are not in love in mine but both under 6 feet tall. And very cozy. I would suggest making the solo tent I made but making it a 10 x 10, if possible? My sewing machine is also evil but I made it through and just used a regular sewing machine. YouTube is great for finding ways to clean it and keep it running nice and smoothly. If you have Facebook send me a message there if you have any questions or shoot me an email. I have a hard time getting messages through here. cheers ! cscheuermann@hotmail.com