

After my last backcountry trip, I had a major issue that I needed to deal with before my next trip. The issue was being caused by my painters pole. It was quite a nifty thing and I really liked the idea of it, but in reality, my friend Tierney was right. It was unstable and you didn’t know if it would just suddenly collapse. She was bang on on that.

On my trip backcountry camping at Go Home Lake, Sue went to exit the tent and when she pulled the zipper down, the pole sunk and dropped the whole tent with it. It was only an inch or two but it made a huge different. What I was worried about most, was that the pole would just go all the way down and the canvas would end up on top of the stove. I know the possibility of that is pretty unlikely. I mean, I tried to burn the material a while back with a lighter and it wouldn’t catch on fire but you never know?

When I was creating the hot tent, someone had suggested putting a few holes in the pole and putting a pin, or nail, or screw through to keep the pole from sinking inside itself. This was the best advice I’d received so far on the pole and even though I was super hesitant about doing it, I needed to give it a try.

After setting up the tent and marking the pole at just the right height, I headed to the workshop with the tools I’d need. The shop has a big clamp on the table which is perfect for a project just like this. I put the pole in the clamp and then got to work. The first thing I needed to do was divot the pole with a nail and a hammer. This would make a dent so that when I took the drill to it, it wouldn’t just slide right off the pole. It worked like a charm.

Once the pole had the dimple in it where the drill bit could catch, I drilled a small hole into the pole and going out the other side. It took a bit of muscle and two drill bits as the first one snapped in half, but I got it through eventually.

Once the hole was made I grabbed a screw I’d had that matched the drill bit size and turned it into the hole. The pole didn’t move. SWEET! I have no idea why I was scared to drill into the pole but it seemed to be going just fine. Nice!


Once I was sure it would work, I repeated the process and made a second hole in the bottom section of the pole. Voila! Done and done. I found some nails in the shop that fit the holes very nicely. The screws worked also but I would need a screwdriver to get them all the way though and they were very big and would stick out the other side quite a bit. The nails were better sized for the pole and no screwdriver would be required on site. A better solution I thought.


I took the nails out over and over and shrunk the pole down as small as it would go, then opened it up to size and put the nails back in. I’m not sure if I needed to convince myself it worked or if I felt like I had to practice but I did it a bunch of times and each time was successful. I was still surprised but so happy about it. This was a big issue that had been weighing on my mind a lot since the last trip.


Making the hole had left some jagged metal sticking out of the opposite side of the pole. I got some sandpaper and sanded it down until it was nice and smooth. Last thing I wanted was to cut my hand open out in the backcountry while setting up my tent. After that the project was pretty much done!

I stood the pole up with the nails in it and pushed down on it as hard as I could using all my weight. No slipping at all. Awesome! Mission complete!
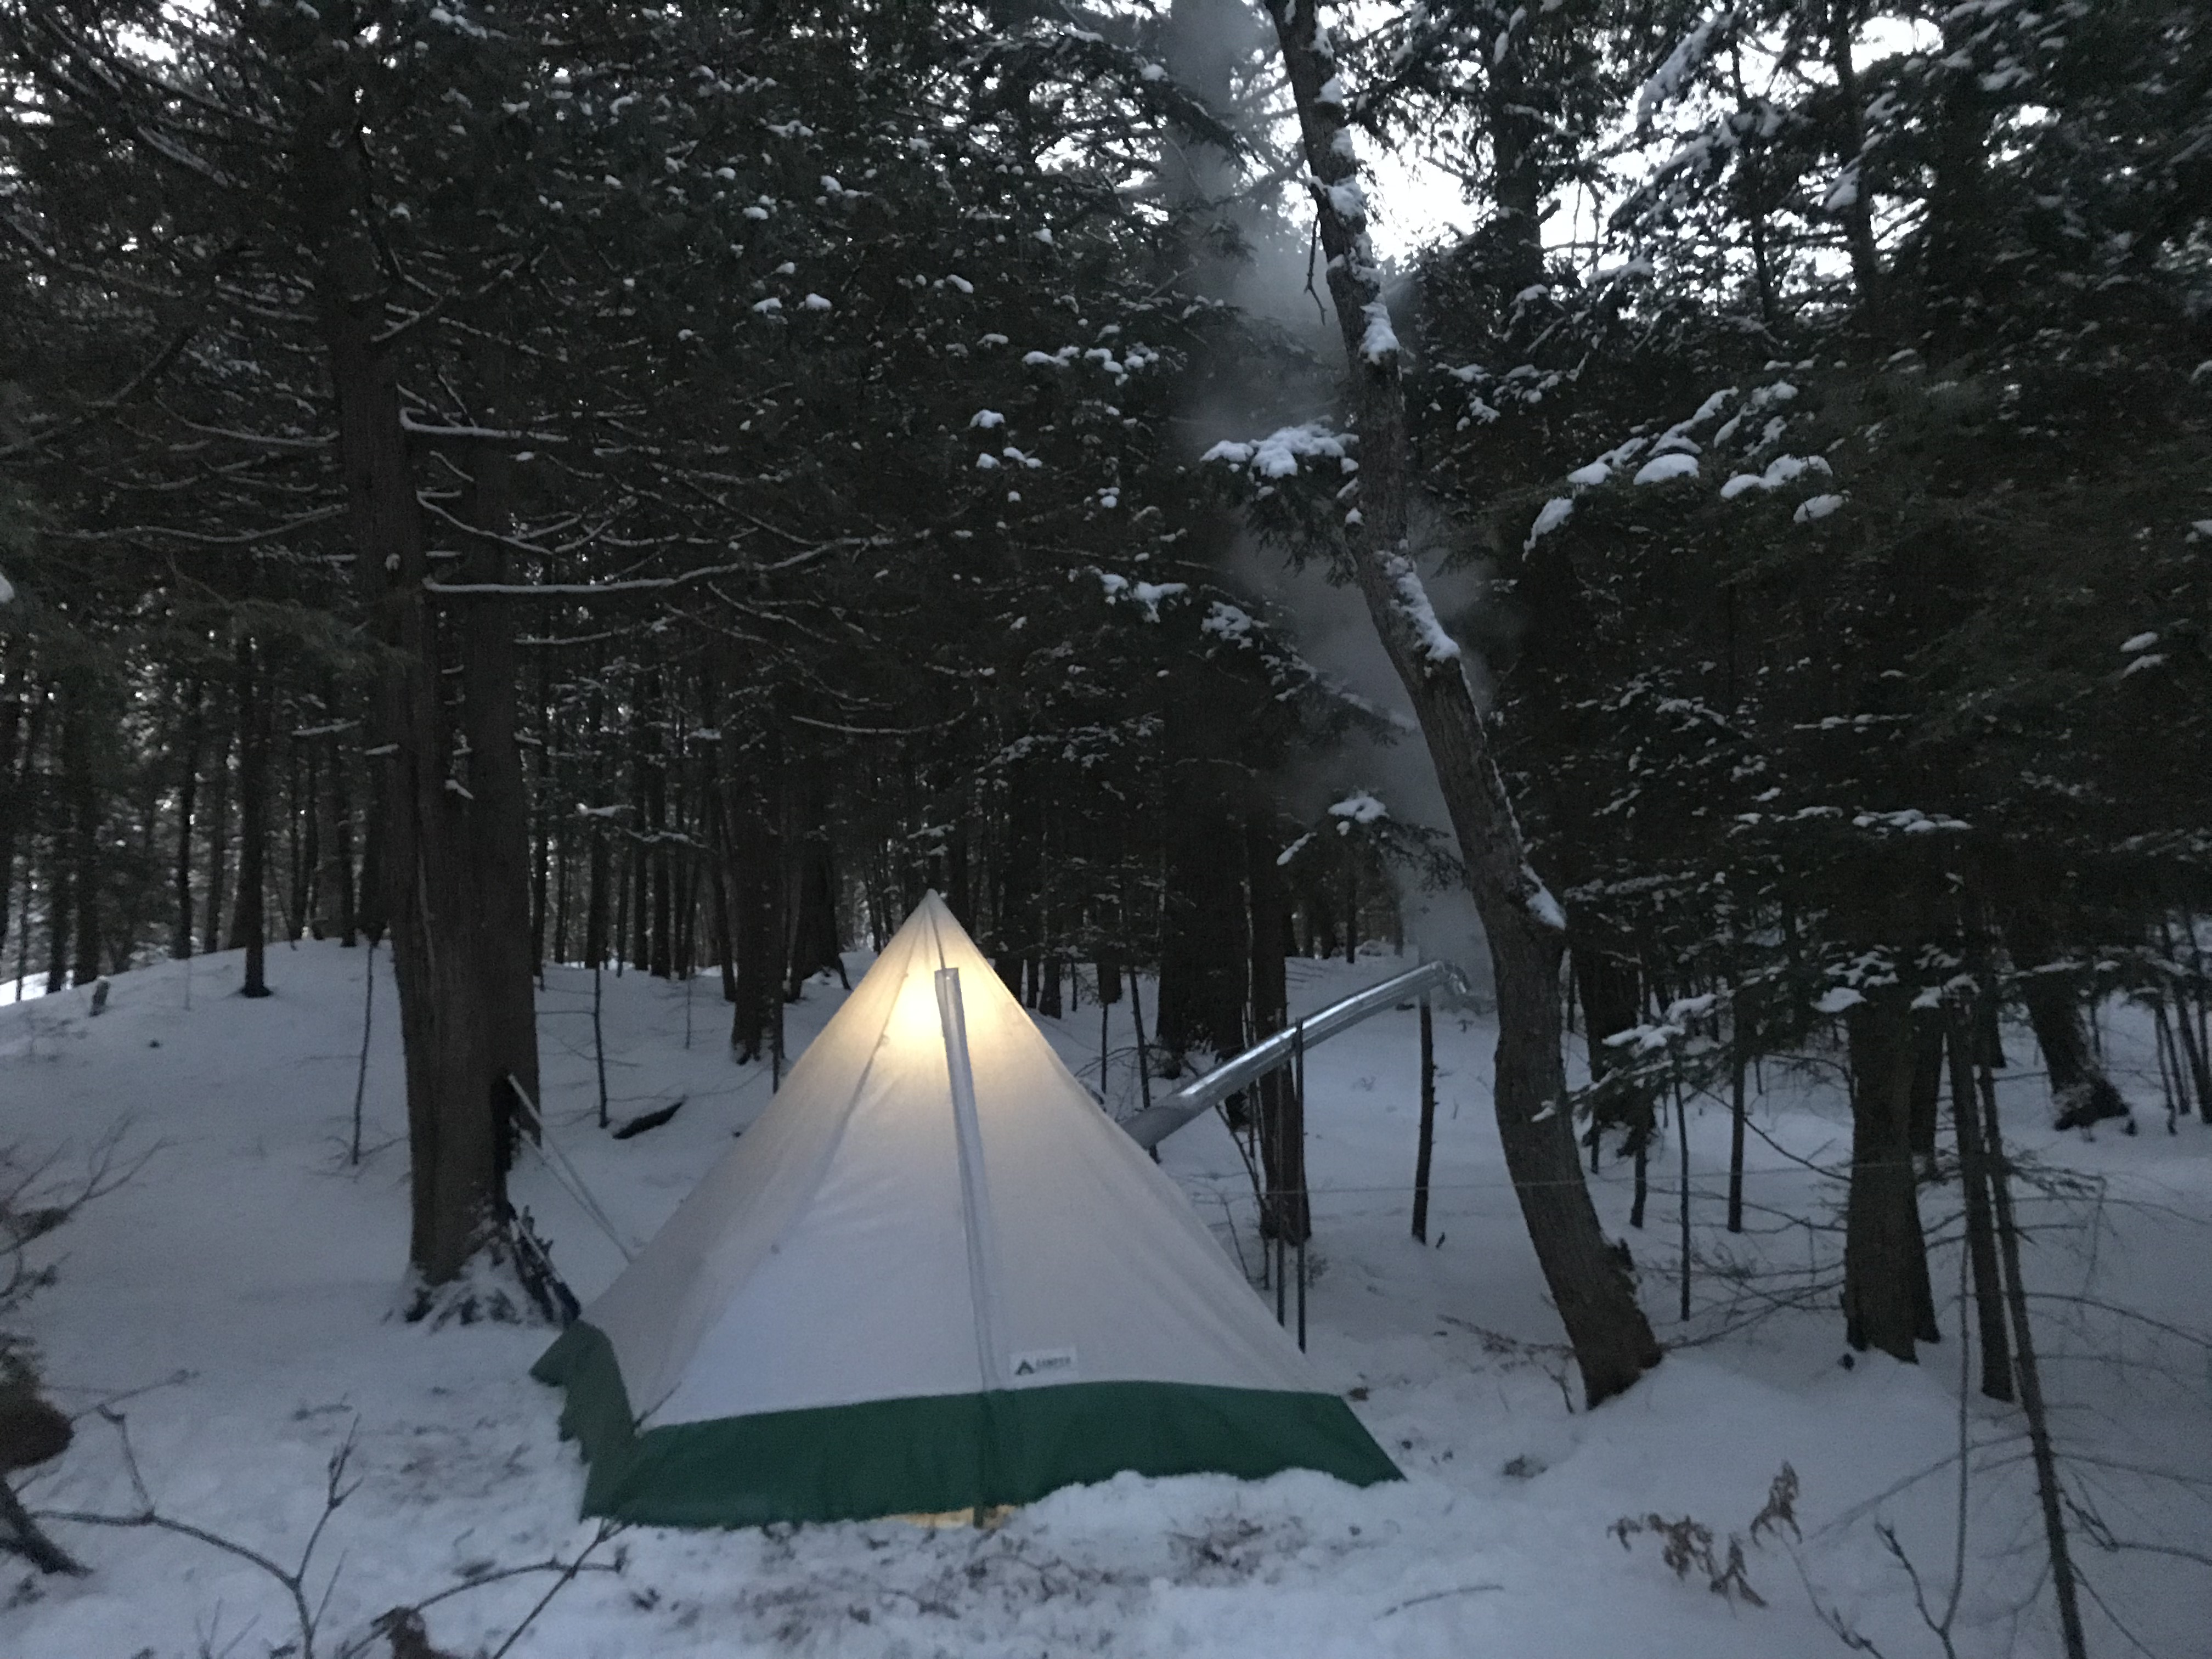
I tested out the pole on my next outing in Killarney Provincial Park and it worked great! Success!
Thanks so much for checking out my post this week.
Happy Camping!
Camper Christina
Instead of a nail you might want to use a pto lock pin. It is basically a pin with a wire bail that stops it from falling out. Also, it isn’t pointed like a nail. I know they are available in 1/4 inch diameter and maybe smaller. TSC, Princess Auto, Canadian Tire etc all carry them…..just a thought
Thanks for the comment. Is it like a cutter pin?
To add to Steve’s comments they are also call; lock pins, hitch pins and many other names. They are available in various sizes and shapes.
Cutter pins ? If so I use these on the Tipi and know what they are. I’ll look at finding some. Thank you !
No it’s not a cotter pin, any hardware store will have them, just tell them you need a hitch pin or a locking pin, hope that helps, Steve
Thanks
I experienced the same collapsing pole issue last year. My solution was to simply place a strong hardware store spring clamp on the top pole just above the slip prone joint. The clamps are used for joining wood. they come in different sizes. I got mine at Menards, but they are widely available. I bought two of the clamps. They also proved useful for hanging stuff on the pole. Pole held up fine in 30MPH wind. Simple and easy.
Great idea! Thank you so much for commenting. 😊