

In November 2015, I built a DIY Tipi hot tent. It is awesome and I love it dearly, but unfortunately, the tipi is not made for the backcountry. I took it on a few small trips last year and very quickly realized it weighs a tonne. I hadn’t realized how much until I had made a statistics sheet about it for winter in the wild and was amazed to see that it weighed about 65 lbs and with the stove, just over 100lbs! That was just too heavy for lil ol me to take into the backcountry. Sad, but true.
Here is part 2 of How to Make a Hot Tent Camper Christina Style!
In part 1 I left off waiting for my zipper to arrive so I can install it and still needed to put in the stove jack. I have a few small details to attend to, as well, which will also be discussed.

On November 27th, I finally received my zipper. It was due in on Friday but with the holiday season upon us, Canada Post is struggling and I was just happy it was only one day late. I was super excited to get the zipper into the tent. I have installed zippers in the past and have never gotten along very well with them, so I was also anxious to get this part of the project completed and over with.

The zipper is six feet long and made for canvas projects. It is heavy duty as they call it and is able to be used on either side of the tent. I got the tent into the sunroom and laid it down as flat as I could and laid the zipper on top to get an idea of how it would look. So far, it looked great! Now I just had to get it sewn into the tent. Ahh the tricky part! LOL. Before doing that, I cut the tent open to the length of the zipper. Due to the materials frayability (is that a word? LOL) I didn’t cut it all the way up until the zipper arrived. Once I did that I zigzagged the edges of the door twice to ensure they would not fray.


I once again laid out the tent on the floor and made it smooth. I put the left side of the door (panel to be zippered) and the right side (as in opposite of left, not right as in correct, lol) of the zipper together and pinned them. After I did a few of them I moved the zipper to see how it looked and if it was in the right spot and it was. WHEW! So far so good. LOL. I pinned very carefully down the left panel from top to bottom with the zipper ending just before the plastic coated canvas. If this area ended up buried in snow, the zipper handle could just be moved up so it should work okay, I think?

After putting in tonnes of pins, I took the tent over to the sewing machine and got to sewing. When you sew zippers on, you are supposed to use a special foot on the machine called a zipper foot (I believe that’s the term?) but I didn’t have one. Well, I did, but like all other things Christina, it was in storage still, so I just used the presser foot that was currently on the machine. It didn’t seem to make a difference and I breathed a huge sigh of relief as this was something I had been worried about since ordering the zipper.

After sewing in the one side, I took the tent back into the sunroom to see my work. It looked great! I was soooo relieved but I wasn’t out of the woods yet. Now I had to figure out how to attach the other side as it would be more difficult. I found it was best to flip the tent inside out to do the right side (as in opposite of left) and once I figured that out, I was good to go. I pinned it very carefully as I’d done the other side and took it in to sew it. I think it worked? I brought it back into the sunroom and instead of just laying it on the floor, I set it up to take a peek.

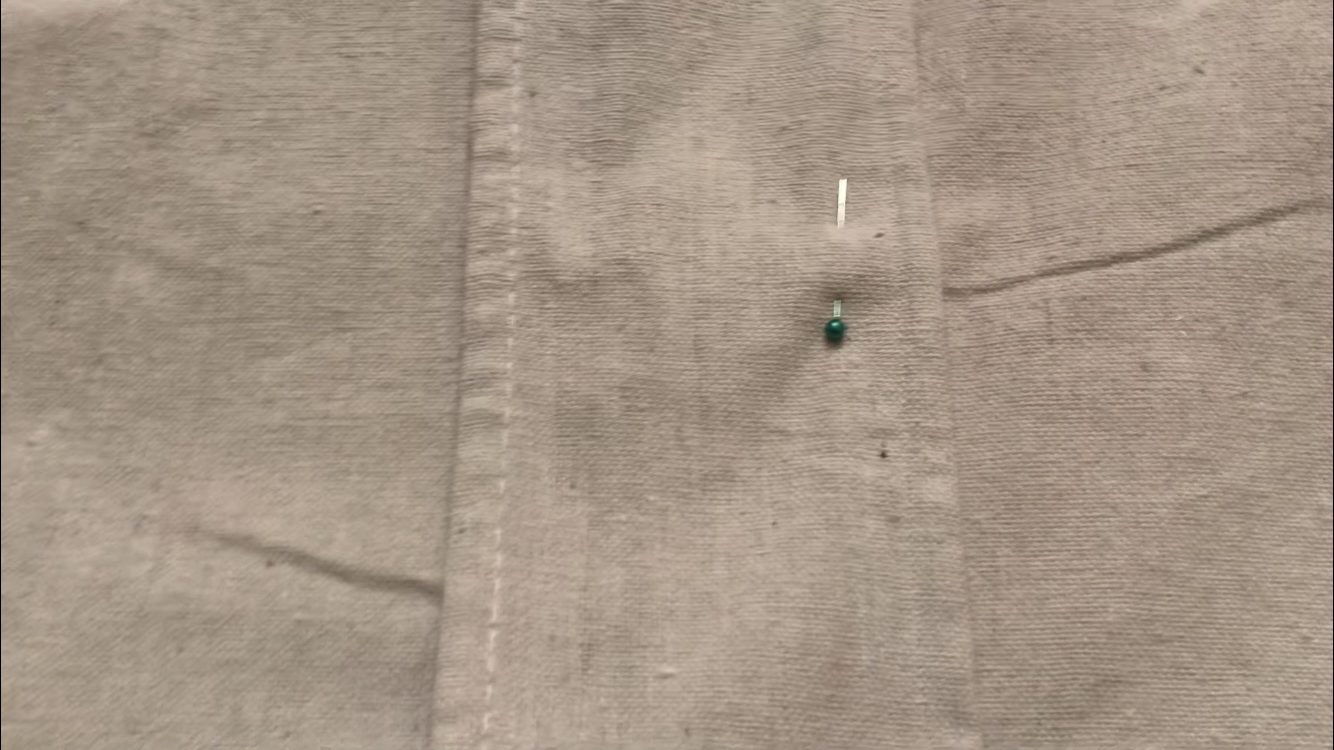
It looked AWESOME!!! I was super happy with it but it wasn’t perfect. At the very top where the two seams met, there was a tiny opening. I sewed it shut as best I could and then decided the zipper would need a flap over it or a fly of some sort. I cut a triangle out of leftover canvas and zigzagged the edges and then made a nice border around it. It took me a few tries to get the triangle, just right but I managed on the 3rd try. My plan was to use a very long piece of beige plastic coated canvas I had leftover from the pole bag I’d made for the tipi and have a small piece of velcro under the triangle to attach it when the weather wasn’t great. I was done for the day and decided to sleep on it, In this photo the triangle piece at the top of the zipper is just pinned on and not yet permanently attached.

Sleeping on the idea helped a lot. At some point during the night I came up with a much better idea and as soon as I was done work, I was ready to implement it. The idea was more like a fly on a zipper on a pair of pants but upside down. I wasn’t sure the other day if something like this would stay, but then I figured out I could use some velcro pieces to keep it shut if need be.
I began by taking a very long scrap piece of canvas that had no flaws in it. One side of it already had a border so I just zigzagged the edge of the other side and then put a nice straight stitch in it to make it look like the other side. Once that was done, I laid it down on the tent where I wanted it to go and pinned it in place. I did my best to keep the zipper in the centre of the flap the entire way down. I’m grateful I received my dads eyes that are great for measuring by sight. LOL.

When I got to the bottom where the green canvas began I stopped. I would sew the entire flap from the top and stop a few inches from the green material. Once it was affixed to the tent, I would then add a strip of green canvas to meet up with the beige. I wanted it to line up exactly, so I figured it would be best to wait. I sewed a straight stitch to attach the fly, right overtop of the hem stitch I had just put in to fold over the edge and make a nice border.

Once the fly was sewn to the tent, I folded over each of the sides of a specifically cut piece of green canvas and made a nice border equal to the one on the beige material. I then lined up the right sides and sewed them together putting the seam exactly where it was on the tent so the colors would line up perfectly.

I then pinned the green flap to the green tent canvas and made sure it was straight, then proceeded to sew it on as well.

Then end result was perfect! You could open the flap at the bottom and it would open up all the way to the top. I was pretty proud of this little addition to the tent. It looked really nice but I wasn’t sure it would stay shut with high winds, snowstorms, etc so I needed to do a bit more. I stitched the top of the flap to attach the top and a few inches on the left side of the flap to the tent, kind of like an upside down U. Then I got out my velcro and cut male/female pieces stuck together into the same size pieces, about 1.5″ (again by eye).

I put these little bits of velcro every 10″ down the fly, leaving the green canvas without any. I ended the last velcro bit at the seam and figured most likely half of the green material would be buried in the snow and as it was so far down the tent, there was very little chance of it blowing open when the entire flap was shut from the top.

I went over to the sewing machine and attached each bit to the tent first, then the opposite piece to the flap. This was incredibly time consuming as velcro is not the best to sew. The soft side was great, but the rough bristly side kept breaking my thread and I got to the point where every patch of velcro that was on the fly (rough side) would break the thread. Every single one! This meant I had to rethread the machine on most occasions and then finish the stitching from where it broke. I carried on, taking deep breaths. Nothing good is easy. LOL.

It worked perfectly in the end and was worth all the extra effort and swearing that went along with the task at hand. I set up the tent once more and checked out my work. It looked pretty good and I was very pleased with myself. 🙂

While the tent was up, I decided it was a good time to give it a coat of fire retardant. I had sprayed the tent over the last week with 3 full coats of waterproofing spray, so that was taken care of. Now I had to fire proof the entire tent. I had purchased 3 cans of spray from Home Hardware for $7.99 and used an entire can to coat the tent nicely once. It would have to sit for 24 hours in order for the spray to be cured. Generally I would do this type of thing outdoors, but the sunroom has so many windows that open, it was just like being outside, but better, because the wind didn’t blow the spray off into oblivion. I was grateful I had the use of this room or I wouldn’t be able to make this tent at this time of year.

I had been giving a lot of thought about the stove for this tent. I currently owned a great little wood stove that I used for the tipi. It cost me only $99.00 at Princess Auto and I had just refinished it for this winter, scrubbing the rust off and coating it with 2 coats of high heat paint. (video to follow soon!). The problem was, the stove was 33 lbs and this tent was being made for backcountry trips. I had attempted to put the old stove in the new tent but I didn’t like the look of it in this tent, and the weight was still bugging me. It was just too heavy.

I did some research and really liked the Kni-Co stoves. They were a bit expensive but not ridiculously expensive and I knew I would get lots of use out of it. After talking to some vendors who sell the Kni-Co Alaskan Trail Stove, I discovered Lure of the North sells it as well. Lure of the North is a small family run business that I have heard many good things about from a large amount of my outdoor friends. They make winter clothing, help you make your own winter clothing, run workshops, take people out on trips and adventures, and much much more. The owners Dave and Kielyn Marrone are super friendly and they really caught my attention when I saw this photo below of Kielyn in Kevin Callans new Winter Camping Book.

After some quick and friendly correspondence with Lure, I placed my order for the stove and anxiously awaited it’s arrival. In order to install the stove jack, I would need the stove on hand to measure where the pipe would exit the tent. Until then, I still had lots to do! Back to work I go!


When I began this project, I did some research into stove jacks. They were still a bit of a mystery to me and I avoided having one on the tipi as the stove pipe goes out the top opening through the centre of the wooden ring. I went online and did some googling and found out that I could buy a completed 1.5′ x 1.5′ stove jack for about $55.00 with a flap. That seemed a bit pricey to me, but google didn’t fail me. It also brought me to a post on Winter Trekking where I read some comments regarding making stove jacks. Bkrgi commented that he/she used a welding blanket purchased for about $25. I googled that and found that Princess Auto sells welding blankets. Woohoo! For $24.99, I could get a 4′ x 6′ welding blanket and it would make six 2’x2′ squares that I could use for stove jacks. That sounded like a great deal! I actually knew a few other people who were planning on making hot tents this season so I sent them a message to see if they wanted to buy a square? LOL

I got a few yes’ and would be seeing those people at the Ontario Winter Camping Symposium. I laid out the material and measured out the squares. This material, I’d heard frays incredibly easily, so I didn’t just want to cut it as it would probably disappear pretty quickly.

I decided to mark the squares with masking tape. I laid it on the fabric and taped it to both sides marking out the 6 squares. Then I carefully cut right down the center of the tape. Each square was packaged up for their new owners and I kept 2 for myself. One as a spare for another tent perhaps, and the other one for this tent. I got to work measuring out my square for this tent.

I first drew lines on the inside of the material where the seams would be. The outer edge would need to get zigzagged before cutting it, so I did that next. I had 2 folded over borders already, however, one had a giant grommet in it and would have to be cut out, so that left me with only one usuable hem/border. The rest, I would have to create. Once I sewed the zig zag stitching on the outside border…. twice… I cut it very carefully, still fraying, but not as badly.

I folded over each edge twice so that no fraying could occur or be seen, and then stitched all around the square.

This is how it looked once I was done.
While sewing the stove jack, I had a huge amount of issues with my sewing machine. I believe it was because I ended up having to leave the masking tape on the edges and the needle got sticky and gucked up my machine, but I’m not 100% sure. I think I might need to ask for help. Glen Burgess introduced himself to me on social media just after I announced I was starting this project and offered to sew the tent for me and help me in any way he could. I was pretty impressed. It was an incredibly generous offer. As this is a DIY project I pretty much wanted to do this myself, but as for getting help with my machine, I didn’t think that was cheating at all and after I had done everything I could possibly think of, turning to the internet and doing all the suggested advice there, I finally messaged Glen. Him and his wife were so kind and asked me to call them. They stayed on the phone with me for almost an hour! I sent pictures over and we revised the way the thread went through the machine, cleaned it out and did anything and everything we could think of. In the end, we all figured it must be the $0.60 thread I’d purchased, even though I’d already used 4 rolls without issue as nothing else seemed off. I headed to Walmart to get new thread and hoped when I got back to work on the tent tomorrow, it would make everything better.

Sadly, it did not. I was beginning to get stressed. It was now Sunday, 6 days before I wanted to take my new hot tent out on it’s first trip. I had not been camping in 4 weeks and I was dying to get out, plus I really wanted to see how the hot tent would do in a real life setting. Not only was my sewing machine only sewing about 10 stitches before the thread would just break, but my stove was now also missing. It was due to arrive Friday, 2 days ago, and didn’t arrive then, and when I called Canada Post, they had no idea where it was, AT ALL. I messaged Dave from Lure to see if he could help and called it a night. I was so stressed a migraine had landed in my head and for the moment I felt totally defeated.

With the promise of my part one blog post coming out Tuesday and the video on Thursday, I had no idea if I would be able to get a part 2 done in time for next week or if my stove would be found at all. I also had no idea what I’d do about my sewing machine and if I could get it to work again. Doubt was creeping in. What was I thinking making my own hot tent? Why did I think I could just sew up a tent and take it camping? I had no idea how I was going to pull this off, but I would just have to figure it out. Hopefully, after a good rest, things would look better in the morning.
Check back next week to see how it ends.
Thank so much for checking out my post. If you have any questions, comments or just want to say hi, please leave a message.
Happy Tent Making!
Camper Christina
Just a note that I am not a professional tent maker. I am making this tent for my own use and may make mistakes along the way, but that’s all part of learning. I also am making it because I like to do my own thing and be a little different. There are many ways to do something, this is just the way I decided to do it. 🙂
Wow, that is a lot of work! Brave girl to take it on! Looks very professional so far.
Thanks Harry! I appreciate you checking out the post and taking the time to comment. 🙂 Labor of love! 🙂
Wow you got it never give up
Thanks dad! ❤️❤️❤️ I learned from the best. 😊
Another great post!! The tent looks so professionally made as does the zipper and storm flap..Well done……the saga continues..can’t wait to see the next blog and video!!!!
Thank you so much Barb. No closeups on the sewing and the facade will continue. Lol. Cheers.
Thank you for sharing not only your ideas but also your research i would never think of using the fire retardant spray on the canvas but it makes so much sense. Thank you for mentioning The Lure of the North website its so important to support the family owned businesses and their store is amazing, great talent. We can’t wait for the next video.
“Thanks so much Karol. What a great comment to read after a cold weekend of camping. 🙂 I really appreciate you checking out my post. I also feel the same about Lure, They are such wonderful people and we need to support businesses such as theirs. Next post is up tomorrow and video thursday! 🙂 The final one on the making of. Then the posts and videos will start going up on the actual camping in it. So far a few issues but nothing that I can’t resolve. Cheers! and happy holidays!
Wow, Christina! You are a serious trooper! Amazing diy project. Such a good challenge, and even better to be able to use it!
Thank you so much. Glad you liked it. 🙂
Hi Christina. Will you be using your new tent at Mew Lake on the February Family Day weekend?
HI Harry! I will be demoing both tents at Mew Lake on Family Day weekend! Will I see you there?
Hi CHRISTINE. I must admit you are quite an adventurous young lady. I have a question about the thread you used. Did you need to use thread that had a high temp rating especially around the stove jack. I am going to be the host in mew for March so I would hope you have plans to be there then so I can check out your tent.
Hi Tom! thanks for checking out my post. Did you also watch the videos. They give quite a bit more information. The thread was not anything special, just 100% polyester thread. The sewing I did where the hole went for the stove pipe was coated with gasket sealant which is good for like 600 degrees and the other stitching was far from the pipe area. I have plans to be there for Family Day. Hopefully you can see it then? They will both be there actually 🙂
Hi Corey. Thanks so much! Yes I did. Sorry.
Hi corey, Thank you. I did end up selling them all last year. Sorry. Christina